Category: PT Corner with Kristin Williams

  • Barefoot Benefits

    Barefoot Benefits

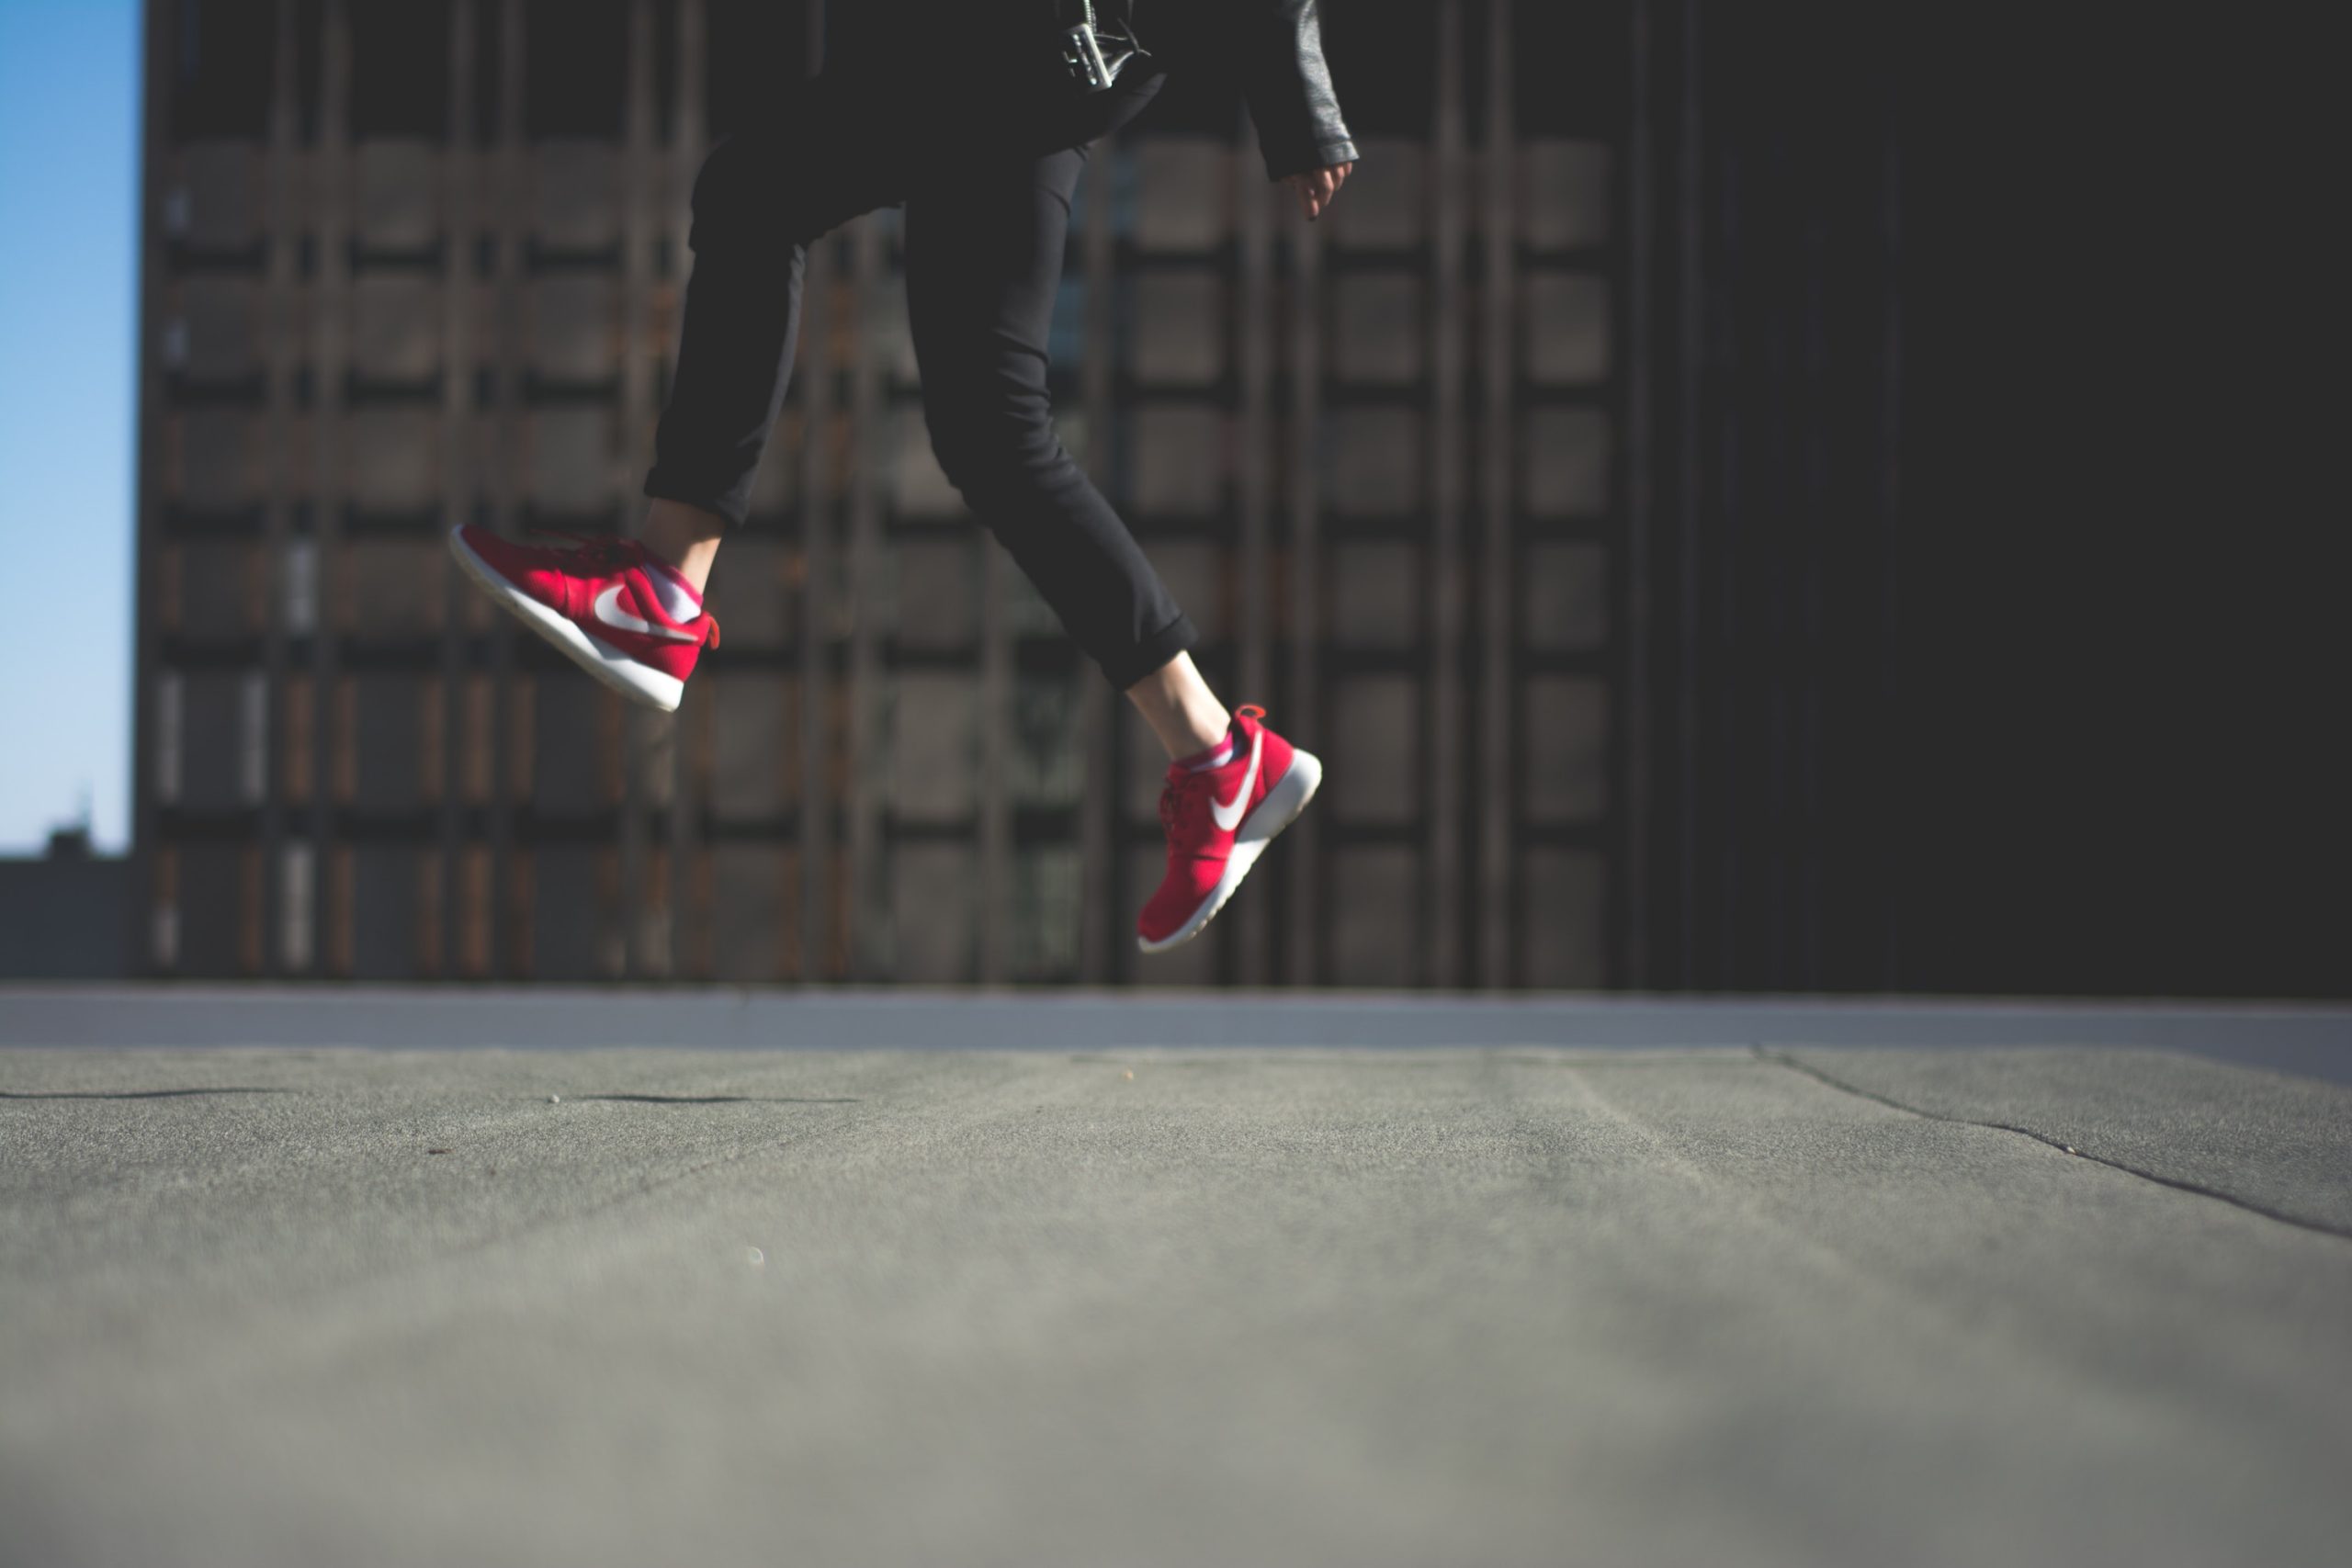
    With rising temperatures and summer just around the corner, barefoot season is here! Now if you’re like me, you find yourself barefoot around the house all the time. We don’t have a “no shoes inside” rule, but it’s typically the first thing I do when I get home. It just feels better to be barefoot! Over the last ten years, barefoot walking/running has caused a stir in the scientific community and a controversial debate has arisen about the benefits and limitations of it. It all began in 2010 when evolutionary biologist and Harvard professor Daniel E. Lieberman published a paper showing that running in cushioned shoes encouraged people to hit the ground harder than running barefoot. He found that with cushioned sneakers, the stiffness of the sole slowed the rate at which the body hit the ground. So while this makes the impact more comfortable, the force through the body is the same. However, when a person runs (or walks) barefoot, they tend to adjust their gait pattern and land lighter. He found this was not true while running in cushioned shoes. His subjects hit the ground harder and the energy that shot up the leg was about three times greater than running barefoot. 


    Since he published this paper, the research on barefoot running has exploded. As with any controversial topic, the reviews remain mixed. When it comes to biomechanics, the evidence is clear that barefoot running influences how we run and likely has a significant impact on the amount of force through the body when the foot hits the ground. However, some people don’t change their gait pattern to run more lightly to start, so there’s a learning curve. In addition, the hypothesis that minimizing impact reduces the risk of injury has been challenged in the literature as being oversimplified and flawed. It has been proposed that neuromuscular adjustments, made in response to impact forces, regulate the amount of stress through the body and the degree of cushioning is largely irrelevant. So people who change their gait pattern to a less “heavy” style can decrease stress through the joints too, regardless of whether they’re in shoes or not. But what about walking barefoot?


    The general consensus in the literature is that habitually barefoot people have stronger feet and fewer foot deformities. Studies have shown that barefoot walking individuals tend to have a wider forefoot, higher arch, more pliable feet, and reduced bunions/hallux angle as compared to people who regularly wear shoes. Not surprisingly, people who walk barefoot more regularly have thicker calluses on the sole of their feet. In 2019, Lieberman and his colleagues at Harvard and in Germany and Kenya conducted another study on whether these calluses had a negative effect on sensation in the feet. His research compared the callus thickness and foot sensitivity of people in Western Africa who regularly went without footwear and people in Boston who regularly wore shoes. They found that although calluses thicken as people walk barefoot more often, there is no trade-off in sensation. The callus transmits mechanical force to sensory receptors deep inside the skin as well as a sole of a foot with thinner or no calluses. When we put an overly-supportive or overly-cushioned shoe on the foot, we significantly reduce the amount of sensory feedback from these receptors. This matters ultimately because of balance.


    As we age, we lose sensitivity in the feet. Coupling that with losing mobility by wearing restrictive shoes all the time can have a detrimental effect on balance and increase the risk of falling as we age. Being barefoot sharpens the connection between the sensory receptors of the foot and brain, giving us better and quicker information about where we are in space. If you don’t use it, you lose it. By using and stimulating the nerves in the feet more often, you encourage their physical growth, which improves sensitivity. It is even believed to improve circulation, as we use more of the fine motor muscle of the foot and ankle while barefoot, which moves the blood and lymph more efficiently. When we’re more sensitive to changes occurring under the feet, we’re more able to react when our balance shifts and therefore, reduce our chances of falling. Finally, there are some early studies on walking barefoot in contact with the earth, so think grass, dirt, or sand. It’s called “earthing”. Some studies allege that drawing electrons from the earth through the feet improves overall health. I haven’t looked at these studies in depth to verify their research quality, but it’s an interesting concept.


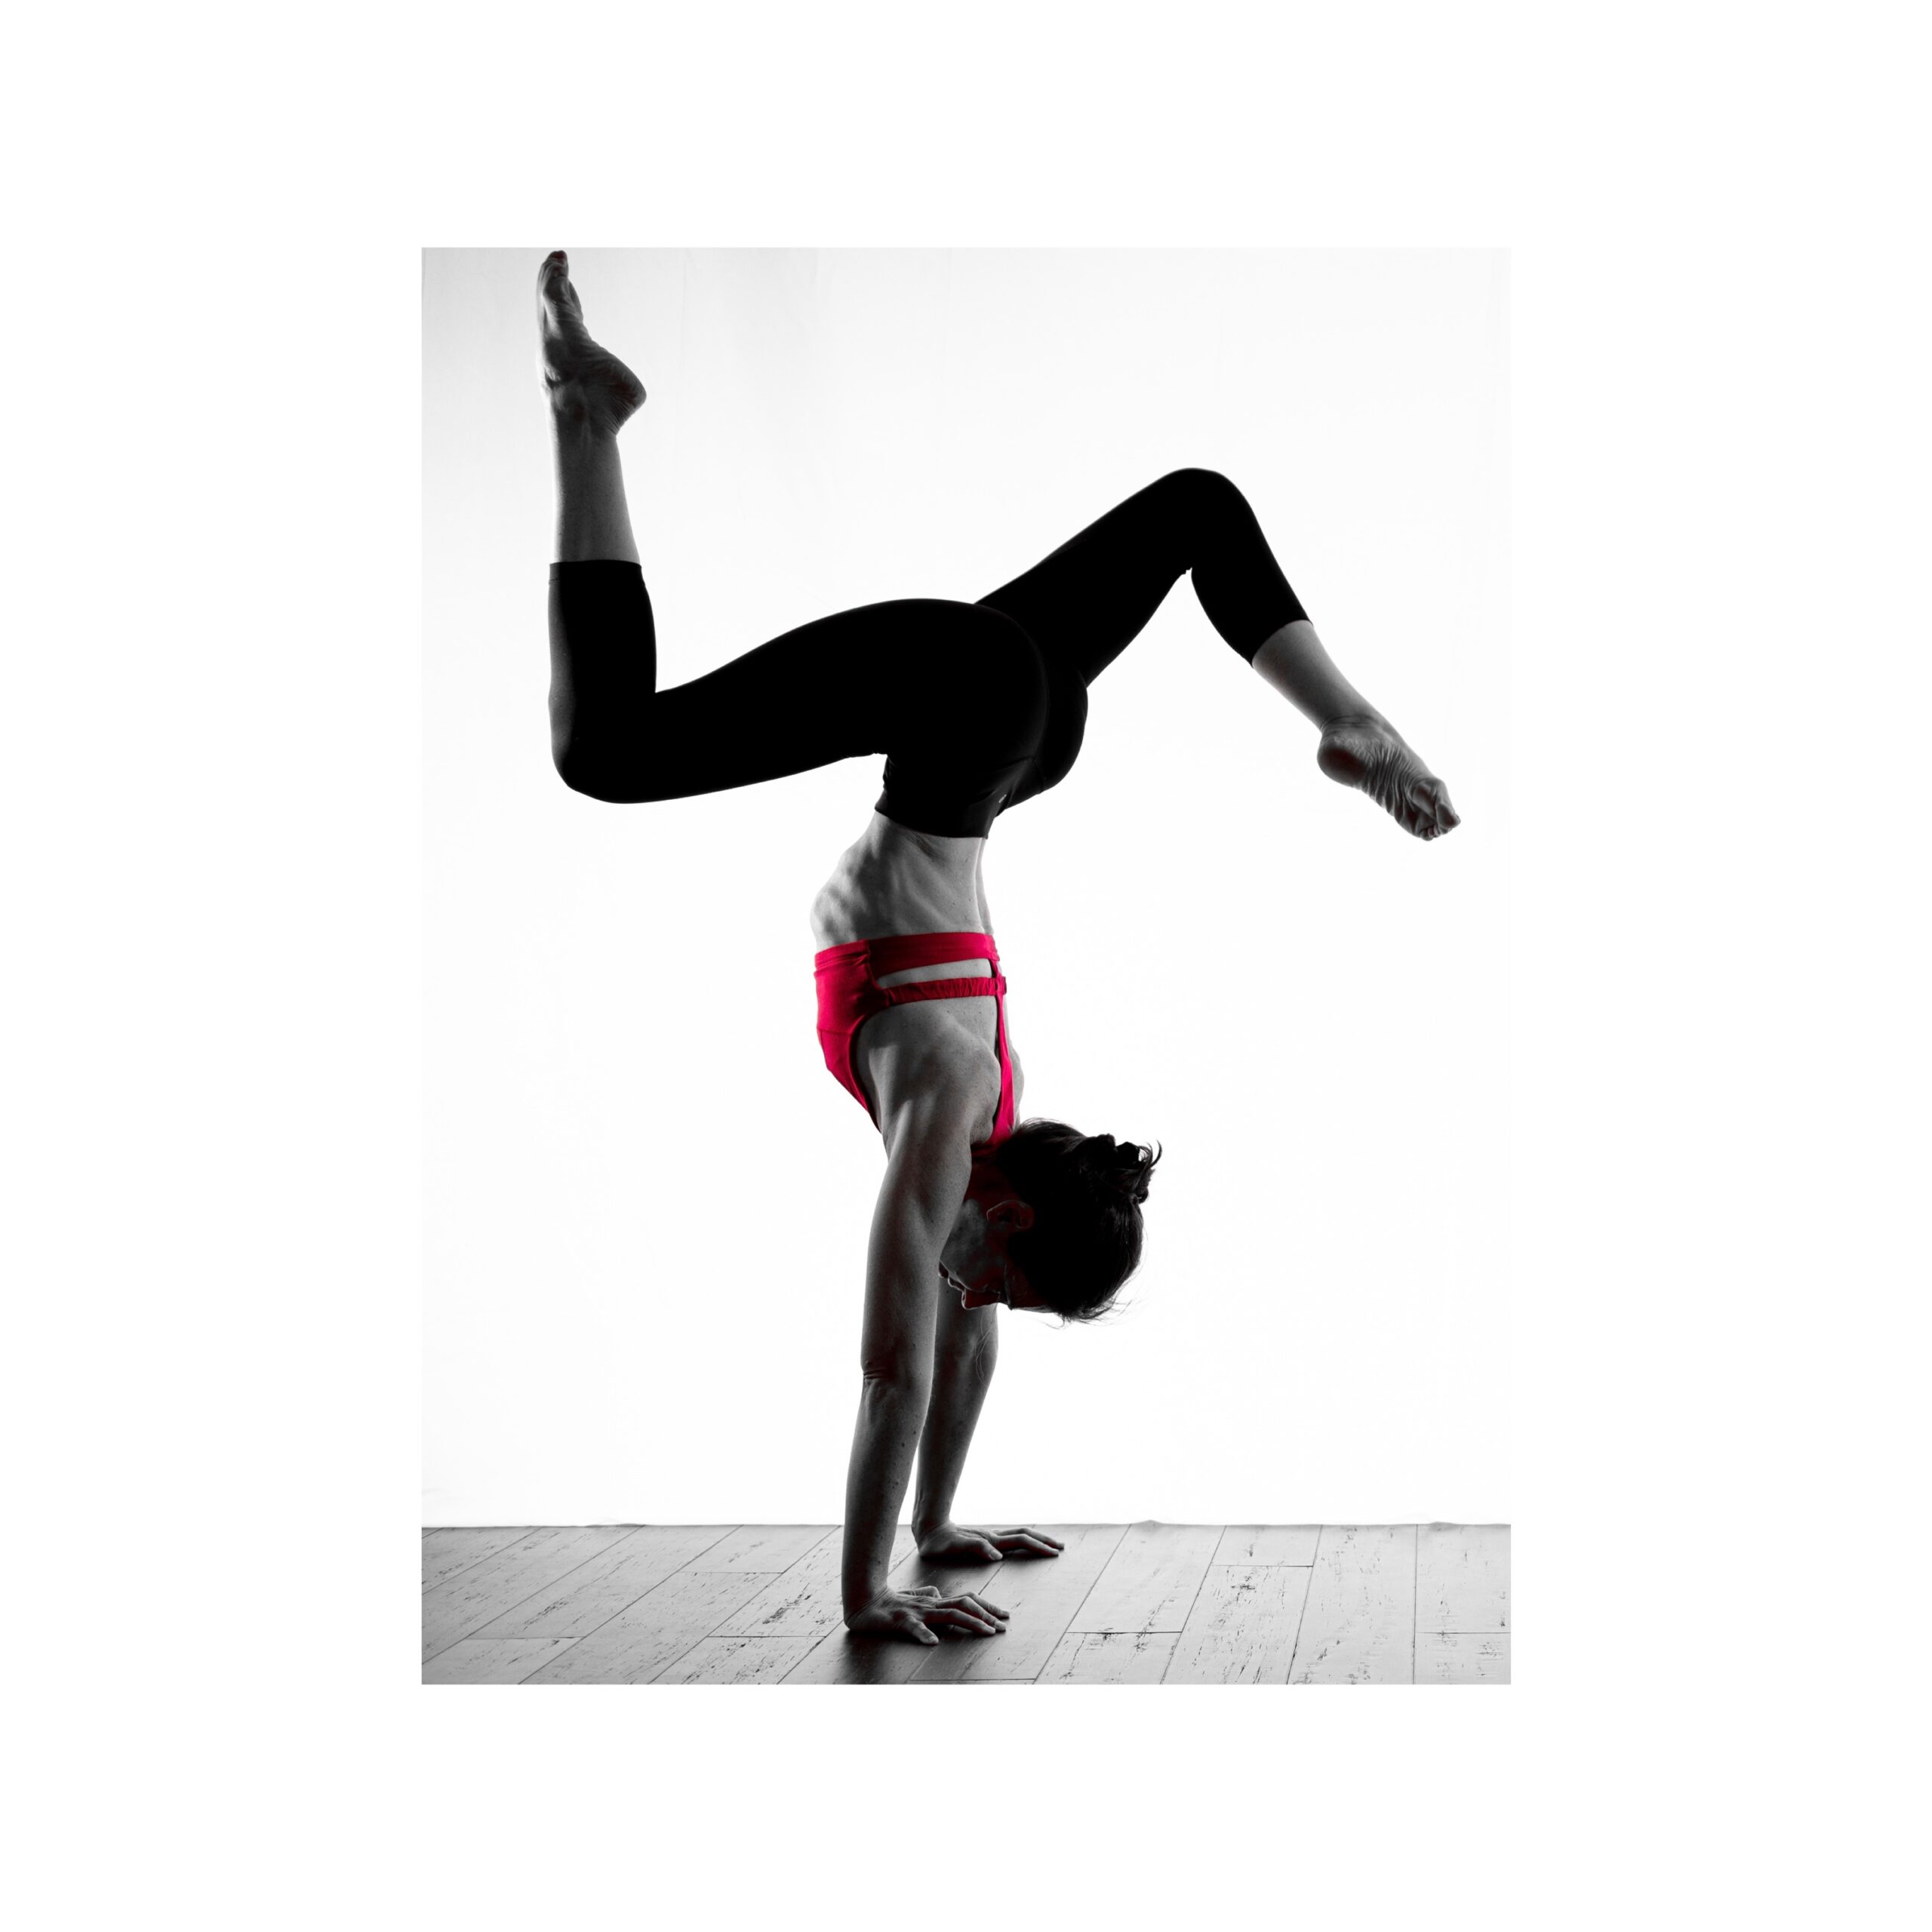
    So now that the weather is warming up (in this hemisphere of the globe anyway), slip off your shoes! We do it every time we get on our mat, which is just one of many different things I love about yoga in general. Try it around the house and around the yard. Free up those toes by checking out a pair of Correct Toes at our LYT Store! Here’s the link: https://shop.lytyoga.com/. Your body and your brain will thank you in the long run!


    Xoxo,

    Kristin

  • Core Container

    Core Container

    This week we opened up registration for our LYT Level 2 Core Module, which is part of our 300-hour LYT yoga teacher training program. The term “core” has been around forever and has morphed over the years into considerably more than it was 20+ years ago when I graduated from physical therapy school. For many years, we really only looked at the core from the standpoint of the abdominals and lower back musculature and their roles in supporting the spine. As our understanding of the core evolved, so did physical therapy, branching out into specialty areas including the pelvic floor and diaphragm. We began looking at injuries of the extremities and how they related to weakness in the core stabilizers, not only around the spine, but also around the proximal joints of the hips and shoulders. We began to describe the core as a container, encompassing the entire trunk or axial skeleton. However, for the purposes of this article, I’m only going to be talking about the muscles of the abdominal core.


    I love the concept of visualizing the abdominal core as a cylindrical container. Imagine an empty soda can…you could stack a solid amount of weight on top of it before it would collapse, right? Yet, if you put one little dent in the side of that can, it takes a LOT less force to make it crumple. Let’s put this into the perspective of the human body…the spine has been shown to buckle under compressive forces as low as 20 lbs in the absence of muscular contribution. I’m pretty sure my purse weighs more than that at times! Certainly my kids’ backpacks! It falls to the container of the core to stabilize the spine against any type of external compressive or shearing forces. 


    The container of the core has passive, active, and neurological components that contribute to its stability. The passive structures include the vertebrae, intervertebral discs, ligaments, and joint capsules, as well as the passive properties of muscles supporting the spine. These passive structures stabilize in the end ranges of motion and transmit load information to the nervous system. The active components are the muscles, which provide dynamic stability to the spine, as well as sending movement information to the nervous system. Finally, the neurological component is the brain or central nervous system, which is the center for incoming and outgoing signals. Continuous interaction between all three components is necessary to maintain core stability. Having a stable core requires instantaneous changes being made by the brain to elicit the appropriate muscle recruitment for stability and mobility in response to demands placed on the body. Yikes. No wonder it’s so hard!


    When talking about the container of the core in terms of its musculature, it begins at the base, which is the pelvic floor. The floor of the pelvis is made up of layers of muscle and connective tissue, which stretch like a hammock from the pubic bone to the coccyx (tailbone) and from one ischial tuberosity (sit bone) to the other. Next, the trunk is supported by the anterior, lateral, and posterior abdominal walls, making up the sides of the core container. The anterior abdominal wall musculature includes the rectus abdominis and a small muscle called the pyramidalis, which is present in 80% of the population. The lateral abdominal wall musculature includes the external and internal obliques and transversus abdominis. The posterior abdominal wall musculature includes the psoas major, iliacus, quadratus lumborum, and psoas minor, which is present in only about 40% of the population. And then finally, we have the ceiling of the core container, which is the diaphragm. The diaphragm is a parachute-shaped muscle that runs between the chest and abdomen. Although its main function is for breathing, it works with the abdominal muscles to increase the intra-abdominal pressure in order to support the spine as needed.


    The ability to tap into the strength of the container of the core takes practice. The inherent boundaries of these muscles create a corset-like effect to stabilize the trunk and spine. Any movement beyond a neutral spine and pelvis, into areas of hyper-flexibility for example, requires integration between the central nervous system and these stabilizing muscles. My favorite way to describe this core containment is by creating an abdominal brace…360 degrees around the spine. This ability to tense the core musculature is similar to what you would do if someone was going to poke you in the belly. You would tense your abdomen all around to keep the fingers from penetrating into the organs, right? You should be able to feel the muscles tighten in front, around the sides, and even into the back body. It’s more of a hug around the trunk than a hard contraction. So you can still move and breathe easily with an abdominal brace. If we can learn to move this way on the mat, it will translate off the mat as well. I like to think of it as an active koozie for our beer can of the core! 🙂 You can even hug in the pelvic floor and diaphragm from above and below at times of greater need, like those asymmetrical poses. You’ll feel the difference in your body, I promise. Your practice will feel like more work, but you’ll reap greater rewards. So give it a try next time! Until then, I’ll see you on the mat!


    Xoxo,

    Kristin

  • Handstand, Don’t Headstand

    Handstand, Don’t Headstand

    One of the first things that drew me to LYT Yoga (then YogaStream) was the inversion practice. I used to do gymnastics when I was middle school age and younger, so I grew up comfortable on my hands as a way to get from point A to point B (ie. with cartwheels, walkovers, and handsprings). But the idea of holding a handstand, let alone in the middle of a crowded room…umm NO. I had been to other yoga studios where handstands, shoulder stands, and plow pose were offered at the end of most classes. Did I do them? Yes. Could I do them well? Yes. Anyone who knows me, knows I’m naturally pretty strong. My job as a physical therapist is demanding and I’m very physically active, so doing crazy arm balances and advanced yoga poses was relatively easy for me at the very start. But not the elusive handstand. Getting that took discipline, work, video assessment, and a daily practice to finally achieve. But this article isn’t about the handstand. It’s about why to do it versus the headstand.


    When you think about it, it makes little physical sense for the headstand to be offered as the “beginner” inversion. In what alternative universe do we feel putting up to 40-48% of our body weight through our neck is a good idea? This is the axial load that studies have shown is being put through the head and neck in a headstand. Now people will argue that you’re supposed to be putting most of the weight through your shoulders and hands, not the head. However, I would argue that most people and especially beginner yogis don’t have the shoulder or scapular strength to do so. Which is why forearm stands are that much harder to do. You are taking close to TWICE as much weight through the shoulder girdle, without the head there to support the other 40-48% of the bodyweight.


    The cervical spine is not built to carry a load greater than the head. If you look at the structural difference between the lumbar and cervical vertebrae, you’ll see why. The lumbar vertebrae have evolved to carry the weight of the upper body or, for argument’s sake, half of the body weight. Its large vertebral body (the solid cylindrical part) allows for this. The vertebral body of the cervical vertebra is roughly ¼ the size of the lumbar vertebra. Which makes sense given how relatively small the head is in comparison to the rest of the body. So why would we still subject ourselves to a pose that puts almost half the body weight through it? No, thank you.

    Another consideration is posture. We spend so much time flexed at the neck while bent over our phones or laptops. This offloads and thereby weakens the posterior chain of the body. Most people have a flattened curve of the cervical spine as well, which essentially means we walk around in perpetual cervical flexion. Studies on axial compression forces required for failure of the cervical spine (in cadavers) was four times less in a flexed position than in neutral or an extended position. This means it takes a lot less compressive force (which is what a headstand is doing) to injure the cervical spine while it’s flexed than while it’s extended or in neutral. So unless you have a perfect curve in your cervical spine (which few people do) and are strong enough in not only the paraspinal musculature but also the shoulder girdle to offset the body weight, it’s just not worth the risk.


    Lastly, we have too many important structures at the craniovertebral junction (CVJ), or where the head meets the neck. The CVJ houses the transition from the brainstem to the spinal cord. It also is where the vertebral arteries (which provide blood flow ultimately to the brain and spinal column) and first cervical nerves (which innervate the head and neck) share a small groove on either side between the skull and the first cervical vertebra. I don’t know about you, but I don’t want to mess with any of that.


    So take the hard road and work towards your forearm balance or handstand. Keep weight off the head and neck! Handstand, don’t headstand. Or as I like to say, “Lift switch, swing it, or step it.” 🙂 Until then, I’ll see you on the mat!


    Xoxo,

    Kristin

  • Digestion

    Digestion

    The holiday season is upon us and you may be feeling heavier than usual following Thanksgiving Day and all the leftovers! Did you know there’s a strong connection between the gut microbiota and the immune system? Some scientists believe the gut can be considered a separate endocrine organ in fact. Changes in the composition and metabolic activity of the gut microbiota can, in turn, affect our health and different disease processes. Over the last five years, studies have suggested that exercise enhances the beneficial gut bacteria, enriches its diversity, and improves the development of it.


    For successful digestion to occur, we want the nervous system to be in a parasympathetic state, also conveniently known as “rest and digest”. The parasympathetic state lets the body know that it’s okay to slow down and focus on digestion, as opposed to being in a state of readiness for fight or flight. It’s during this rest and digest phase that the stomach makes its digestive enzymes and mucous for proper breakdown and absorption of food.


    The vagus nerve is one of our cranial nerves and exits the brainstem, running down to the neck, chest and abdomen. It’s actually the longest nerve in our body and forms a major part of the parasympathetic nervous system (PNS). In addition to the heart and lungs, it innervates the smooth muscle of the gut, which pushes the food through the entire digestive system. Here are some examples of ways to stimulate the vagus nerve and improve digestion:


    • Low intensity yoga – think restorative, gentle yoga, or Stretch class.
    • Deep breathing and meditative exercise – the idea is to breathe out more slowly than you breathe in, allowing the stimulation of the PNS.
    • Singing – perhaps that’s why I simply cannot help but break out into song during class? 🙂
    • Sleeping on your right side shows greater vagus nerve stimulation than the left; lying on the back is thought to decrease vagal stimulation.


    Finally is there anything more LYT than “more core”?? Core work such as abdominal exercises are believed to stimulate movement of the bowels through the digestive system, which promotes an overall improved healthy gut. Similarly, brisk walking helps speed up the time it takes food to move from the stomach to the small intestine.


    So don’t let eating too much at the holidays be an excuse not to exercise or get on your mat, but rather think of it as a reason to do so! Stimulate your vagus nerve with a gentle yoga, meditation, or stretch class on LYT Daily and get that parasympathetic nerve system going. Go with your gut, rest and digest your way to a healthier and happier you!


    Xoxo,

    Kristin

  • Plyometrics

    Plyometrics

    One of the hallmarks from the start that set the LYT Method apart from traditional yoga was Lara’s inclusion of plyometric exercise. As a physical therapist and lover of functional movement, it excited me when I first began taking classes with Lara back in 2012. While plyometrics is a term I use on a daily basis, I suspect it isn’t for most. In fact, many people may not understand the role of plyometrics in fitness and rehabilitation. Today, I’m going to fill you in on that little secret. 🙂


    According to Merriam-Webster, the definition of plyometrics is “exercise involving repeated rapid stretching and contracting of muscles to increase muscle power”. This type of exercise was originally used to enhance sports performance solely in athletics. Within the last 20 years however, we began using plyometric exercise in rehabilitation to facilitate both a quicker return to sport and, more importantly, improve biomechanical technique to prevent injuries from occurring.


    With plyometrics, there is a stretch-shortening cycle that occurs. The muscle-tendon unit is stretched and then immediately contracted (shortened) repeatedly. This improves its ability to produce the maximum amount of force in the shortest amount of time. In addition, plyometrics can be performed between a submaximal (low intensity) and maximal (high intensity) effort. There are three main phases of a plyometric movement:


    1. Loading Phase – also called the deceleration or eccentric phase, this is when the muscles are stretched in response to a load (body weight and gravity) that is placed upon them. Simply stated, this stretch increases the muscle’s potential to produce force and the tendon’s ability to store potential energy to be used later. In addition, there are reflex mechanisms triggered during this loading phase which have the potential to improve neuromuscular control between the brain and the body.
    2. Coupling Phase – as a transition phase, this phase is very short (15-25 milliseconds!) and within the moment where the joint changes from one direction to the other (ie, flexion to extension, up to down, left to right). It is the definitive phase of plyometric exercise, for without the quick transition, an exercise is no longer considered plyometric.
    3. Unloading Phase – also called the push-off or propulsion phase, this is when the muscle-tendon unit is shortened and the mechanisms elicited during the loading phase pay off in increased strength and performance.


    During our LYT practice, we are performing plyometrics at a submaximal or relatively low-intensity level and often in single planes of motion. The benefits of increased muscle recruitment, improved muscle strength, and increased muscular endurance are all present. Plyometrics have also been shown to correct neuromuscular imbalances that can predispose people to injury. They’ve also been shown in the literature to improve joint awareness (position sense) and postural control (single-leg balance).


    Contraindications for plyometric exercise exist, which is why we always give a low or no-impact option in class. They include acute joint pain or inflammation, joint instability, and immediate post-operative status (not usually seen in the studio). Some joint pathologies such as cartilage damage and arthritis are relative contraindications, but it really depends on the ability of the surrounding tissues to attenuate those forces and may be tolerated (and even recommended) at lower intensities. And obviously, acute muscle or tendon injury is a relative contraindication and should be progressed into slowly.


    There you have it friends! Plyometrics and why we do it in LYT!


    Xoxo,

    Kristin

  • PT Corner with Kristin Williams – Pain in the Butt

    If you’ve ever had Piriformis Syndrome, you know it can be a real pain in the butt…literally! The piriformis is a small muscle located in the buttock, just underneath the gluteus maximus. It’s one of six lateral rotators of the hip, but it is unique in that the sciatic nerve runs directly underneath it. The sciatic nerve is the largest nerve in your body, derived from the nerve roots from the lower back (L4-5) to the sacrum (S3). So while most other nerves in your body are as thick as spaghetti or linguine, your sciatic nerve is as thick as your pinky finger! So imagine this large rope-like structure coursing from the lower back and diving under the flat, pyramidal piriformis before heading south down the leg. In 10-20% of the population, the sciatic nerve actually pierces through the piriformis muscle, which is a quite unfortunate anomaly.


    So it’s not difficult to imagine how having issues with the piriformis muscle can affect the sciatic nerve. This is called Piriformis Syndrome and it’s a real pain in the butt. Symptoms can include pain and numbness or tingling in the gluteal region and possibly down the leg. While it is often caused by trauma, it doesn’t have to be sudden in nature. Prolonged sitting in hard chairs (Zooming all day long perhaps?) is believed to cause repetitive microtrauma to the muscle and/or spasms within the muscle belly, all which compress the sciatic nerve running underneath. It is also common in runners and cyclists due to the repetitive nature of those sports.


    Unfortunately, there’s no specific test to diagnose Piriformis Syndrome, so the diagnosis is made primarily based upon the symptoms. Patients present with localized tenderness to the muscle belly in most cases, as well as tightness and decreased soft tissue mobility. Traditionally, people respond very well to soft tissue massage, trigger point release, stretching, joint mobilization and strengthening of the hip and core when it comes to conservative treatment. Some of my favorite exercises include:


    • Figure 4 Stretch/Pigeon Pose – since the piriformis acts as an internal rotator of the hip above 90 degree of hip flexion, these two stretches into hip external rotation are key! If you’re sitting for a long time, you can cross the ankle on the thigh in sitting (like chair Figure 4) and hinge forward at your hips to keep the muscle from cramping.
    • Tennis Ball on the Wall – if your muscle is feeling tight, lean your hip against a tennis ball and the wall. Sustained pressure for 90 seconds can help release the muscle or a gentle rolling massage works well too. Just watch that you’re not compressing an irritated nerve and making things worse!
    • Hip External Rotation with a Band – tie an elastic band around your ankle and kneel on a swivel chair. Kick the heel towards the opposite leg, internally rotating the femur. Do this quick and against light pressure to really warm up the muscle. Follow up with Figure 4 or Pigeon Pose.
    • 90/90 Sciatic Nerve Glides – Lie on your back and grab behind your thigh so the knee is over the hip and bent to 90 degrees. Slowly straighten the knee, while keeping the hip flexed to 90 degrees. When you start to feel some tension in the buttock, rebend the knee. Perform 25-50 repetitions, never into pain. You’ll notice that you’ll be able to straighten the knee more along the way.


    In persistent cases, trigger point injection therapy is quite effective, especially in a muscle that is acutely inflamed or in spasm. And because this is a nerve impingement issue, finding ways to relieve tension on the nerve further up and down the chain (remember the birds on the wire?) is also very effective in treating symptoms.


    As they say, an ounce of prevention is worth a pound of cure. Restoring and maintaining optimal hip mobility and stability is key! Your LYT yoga practice is a wonderful place to start. We focus on the hips and a neutral pelvis as a way of minimizing stress on the body as a whole. So get on your mat, get your hips and glutes LYT up, and hopefully, you can avoid any literal pains in the butt for a long time!


    Xoxo,

    Kristin

  • Low Back Pain

    Low Back Pain

    If you’ve ever had low back pain, you are not alone. Low back pain (LBP) is one of the most common conditions I treat at the clinic and it affects people of all ages. Even school age kids have it, so it does not discriminate by age. It can be described as dull and aching or sharp and shooting. Sometimes LBP is accompanied by radiating pain into the back of the leg(s), buttocks, or anterior thigh. It can extend clear down to the foot in some cases. It’s no wonder that LBP is one of the most common reasons people see a doctor or miss work.


    There are many different causes of LBP. Congenital reasons such as scoliosis (curvature of the spine) and an increased or decreased lumbar lordosis (swayback or flat back). Injuries such as strains, slips, and falls, or car accidents. Degenerative changes in the spine are another common cause and include stenosis (narrowing of the spinal canals), degenerative disc disease (thinning of the intervertebral discs with age), and other types of arthritic conditions (ie, spondylosis and ankylosing spondylitis). Some conditions affect the nerve and cause entrapment either at the spinal cord or exiting spinal nerves, such as disc herniation/protrusion, spondylolisthesis, and sciatica.


    I actually prefer when a patient comes to me and hasn’t had any diagnostic testing. While knowledge is power, oftentimes in the case of LBP, ignorance is bliss. Studies have shown that we can pull 100 people off the street who have no back pain and ~70% of them will have degenerative discs/arthritis, ~50% will have a disc bulge or two, and ~30% will have a disc herniation…with no pain!!! People are shocked to learn this and wonder how can this be? So many different factors affect whether we have pain in the body. When it comes to low back pain and especially radiating pain such as sciatica or lumbar radiculopathy, this is especially true. And if you’ve been treated by me or have taken my Stretch class, you know I love the analogy of birds on a wire.


    I’ve always been fascinated by how birds sit on telephone wires. It makes me laugh to watch them shuffle from side to side, making room as new birds arrive and spacing out as others leave. Several years ago I began explaining neural tension to my patients and students as having “birds on a wire”. The more birds that sit on a wire, the lower it sags and the more tension. Tension on a wire (nerve) is a large reason for pain and discomfort. This is true not only for back and leg pain, but also for neck and arm pain. I consider anything a person has on an MRI as just another bird on the wire. Now some birds are bigger than others and may cause more tension (large herniation or bone spurs). Other birds aren’t going anywhere (stenosis, scoliosis, arthritic/degenerative changes). But just like those studies show, people can have birds of all sizes on their wires and not have any symptoms whatsoever. My job as a physical therapist is to get as many birds off the wire as I can and let the body do the rest of the work. It is an amazing self healer if given the opportunity.


    So what are some birds we can get off our wires? Tight hips and glutes. Your sciatic nerve runs right under your buttock muscles, so if those muscles are tight, they’re just birds pushing on that wire. Limited hip mobility. If you can’t move from your hips, where are you going to move? From your back. Poor body mechanics due to limited hip mobility…bird on the wire. Weak hips and core…bird on the wire. Hypermobility of the lumbar spine…bird. Hypomobility of the thoracic spine…peep peep! Prolonged sitting…cheep cheep! Poor posture…caw caw! Honestly the list goes on and I’m running out bird sounds. 🙂 Think about ways you may be putting too much tension on your wires. What are birds you can get rid off to free up the body to heal itself? LYT yoga is a great place to start because it’s smart yoga. Listen to the cues we give you and apply them to your daily life. Mobilize, strengthen, stabilize. On that note, I’ll see you on the mat!


    Xoxo,

    Kristin

  • Relaxation Breathing

    Relaxation Breathing

    Feeling stressed out? Anxious? Sleep-deprived? Yeah…me too. This has hands down been the craziest year of my life and I’m sure many people would agree with me. As much as I hate to admit it, sometimes we need more than yoga to relax. Deep breathing is one of the best ways to relax the body because when you breathe deeply, it sends a message to your brain to relax your body. Those things that happen when we’re stressed out, like increased heart rate, blood pressure, and respiratory rate, can all be decreased when you breathe deeply to relax. Here’s a quick physiology lesson to explain how it works:


    Your autonomic nervous system, which controls involuntary actions like heart rate and blood pressure, is split into two parts. The first part, your sympathetic nervous system, controls your fight-or-flight response. The second part, your parasympathetic nervous system, controls your rest and relaxation response. Both systems can NOT be working at the same time, which means if you activate one, the other will be suppressed. Deep breathing stimulates the parasympathetic nervous system and while it may be simple, it isn’t necessarily easy and takes practice. The more you practice, the better you’ll get at it There are many different ways to practice relaxation breathing, so play around to find one that feels the most natural to you. Most importantly, be kind to yourself as you practice and accept that you might not notice results immediately. Give yourself credit for trying and keep practicing, even just for a few minutes at a time, until you reach a point where you notice it’s starting to help. Here are a few different methods of relaxation breathing to try:


    Diaphragmatic Breathing

    • Sit or lie flat in a comfortable position.
    • Put one hand on your belly just below your ribs and the other hand on your chest.
    • Take a deep breath in through your nose, and let your belly push your hand out. Your chest should not move.
    • Breathe out through pursed lips as if you were whistling. Feel the hand on your belly go in, and use it to push all the air out.
    • Do this 3 to 10 times, taking your time with each breath.


    4-7-8 Breathing

    • This can also be performed sitting or lying down.
    • Put one hand on your belly just below your ribs and the other hand on your chest.
    • Take a deep, slow breath from your belly, and silently count to 4 as you breathe in.
    • Hold your breath, and silently count from 1 to 7.
    • Breathe out completely as you silently count from 1 to 8. Try to get all the air out of your lungs by the time you count to 8.
    • Repeat 3 to 7 times or until you feel calm.


    Roll Breathing

    • You can do this in any position, but while you’re learning, it’s best to lie on your back with your knees bent.
    • Put your left hand on your belly and your right hand on your chest.
    • Breathing in through the nose and out through the mouth, practice filling your lower lungs so your belly (left) hand goes up when you inhale through the nose and your chest (right) hand remains still. Do this 8 to 10 times.
    • When you have filled and emptied your lower lungs 8 to 10 times, add the second step to roll breathing: inhale first into your lower lungs as before, and then continue inhaling into your upper chest. As you do so, your right hand will rise and your left hand will fall a little.
    • As you exhale slowly through the mouth, make a quiet, whooshing sound as first your left hand and then your right-hand fall.
    • Practice breathing in and out this way for 3 to 5 minutes. Notice that the movement of your belly and chest rises and falls like rolling waves. Feel the tension leaving your body as you exhale and become more relaxed.


    So try one of these out and see if they work for you!


    Xoxo,

    Kristin