Tag: motivation

  • The Safe Way To Do Yoga For Back Pain

    The Safe Way To Do Yoga For Back Pain

    For anyone who doesn’t know my story, the reason I got into yoga is that numerous patients in my physical therapy practice were coming having injured themselves in yoga, particularly in online yoga classes. I couldn’t understand what people could be doing in these classes to strain their backs, so I decided to check it out for myself. It only took one class for me to realize why I was having an influx of patients. 


    The bottom line is that traditional yoga puts most participants at risk for injury. The extreme end-range poses, coupled with either too much or too little flexibility/mobility, is the perfect recipe for painful results—especially low back injuries. Still, the challenge of yoga appealed to me, so I kept dabbling in it. 


    It wasn’t until I was introduced to the LYT Yoga Method that I realized there was a safe, correct way to do yoga. When performed safely, yoga can be great for back pain. I started adding the principles of LYT Yoga to my outpatient practice, recruiting many of my patients to join me on their yoga mats. 


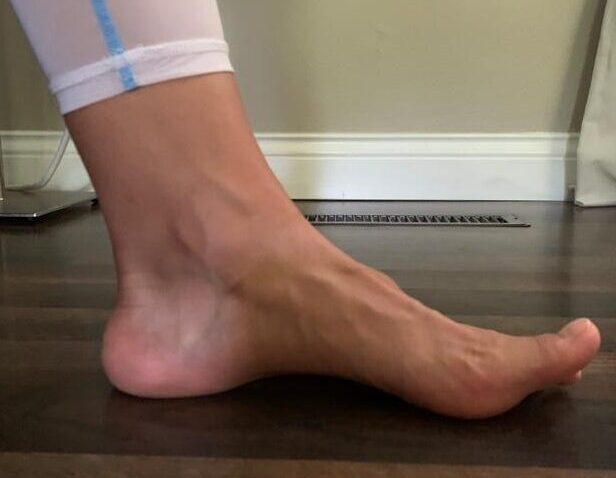
    The keys to safely doing yoga for back pain include finding a neutral pelvis, mobilizing and strengthening the hips, and strengthening the core. 


    Many people who suffer from low back pain exhibit poor movement patterns that originate from the pelvis. If you observe people in their day-to-day activities, you’ll often see them dipping into their low back or sinking into one side. So why would we want to ask someone to do the same thing over and over on the yoga mat? 


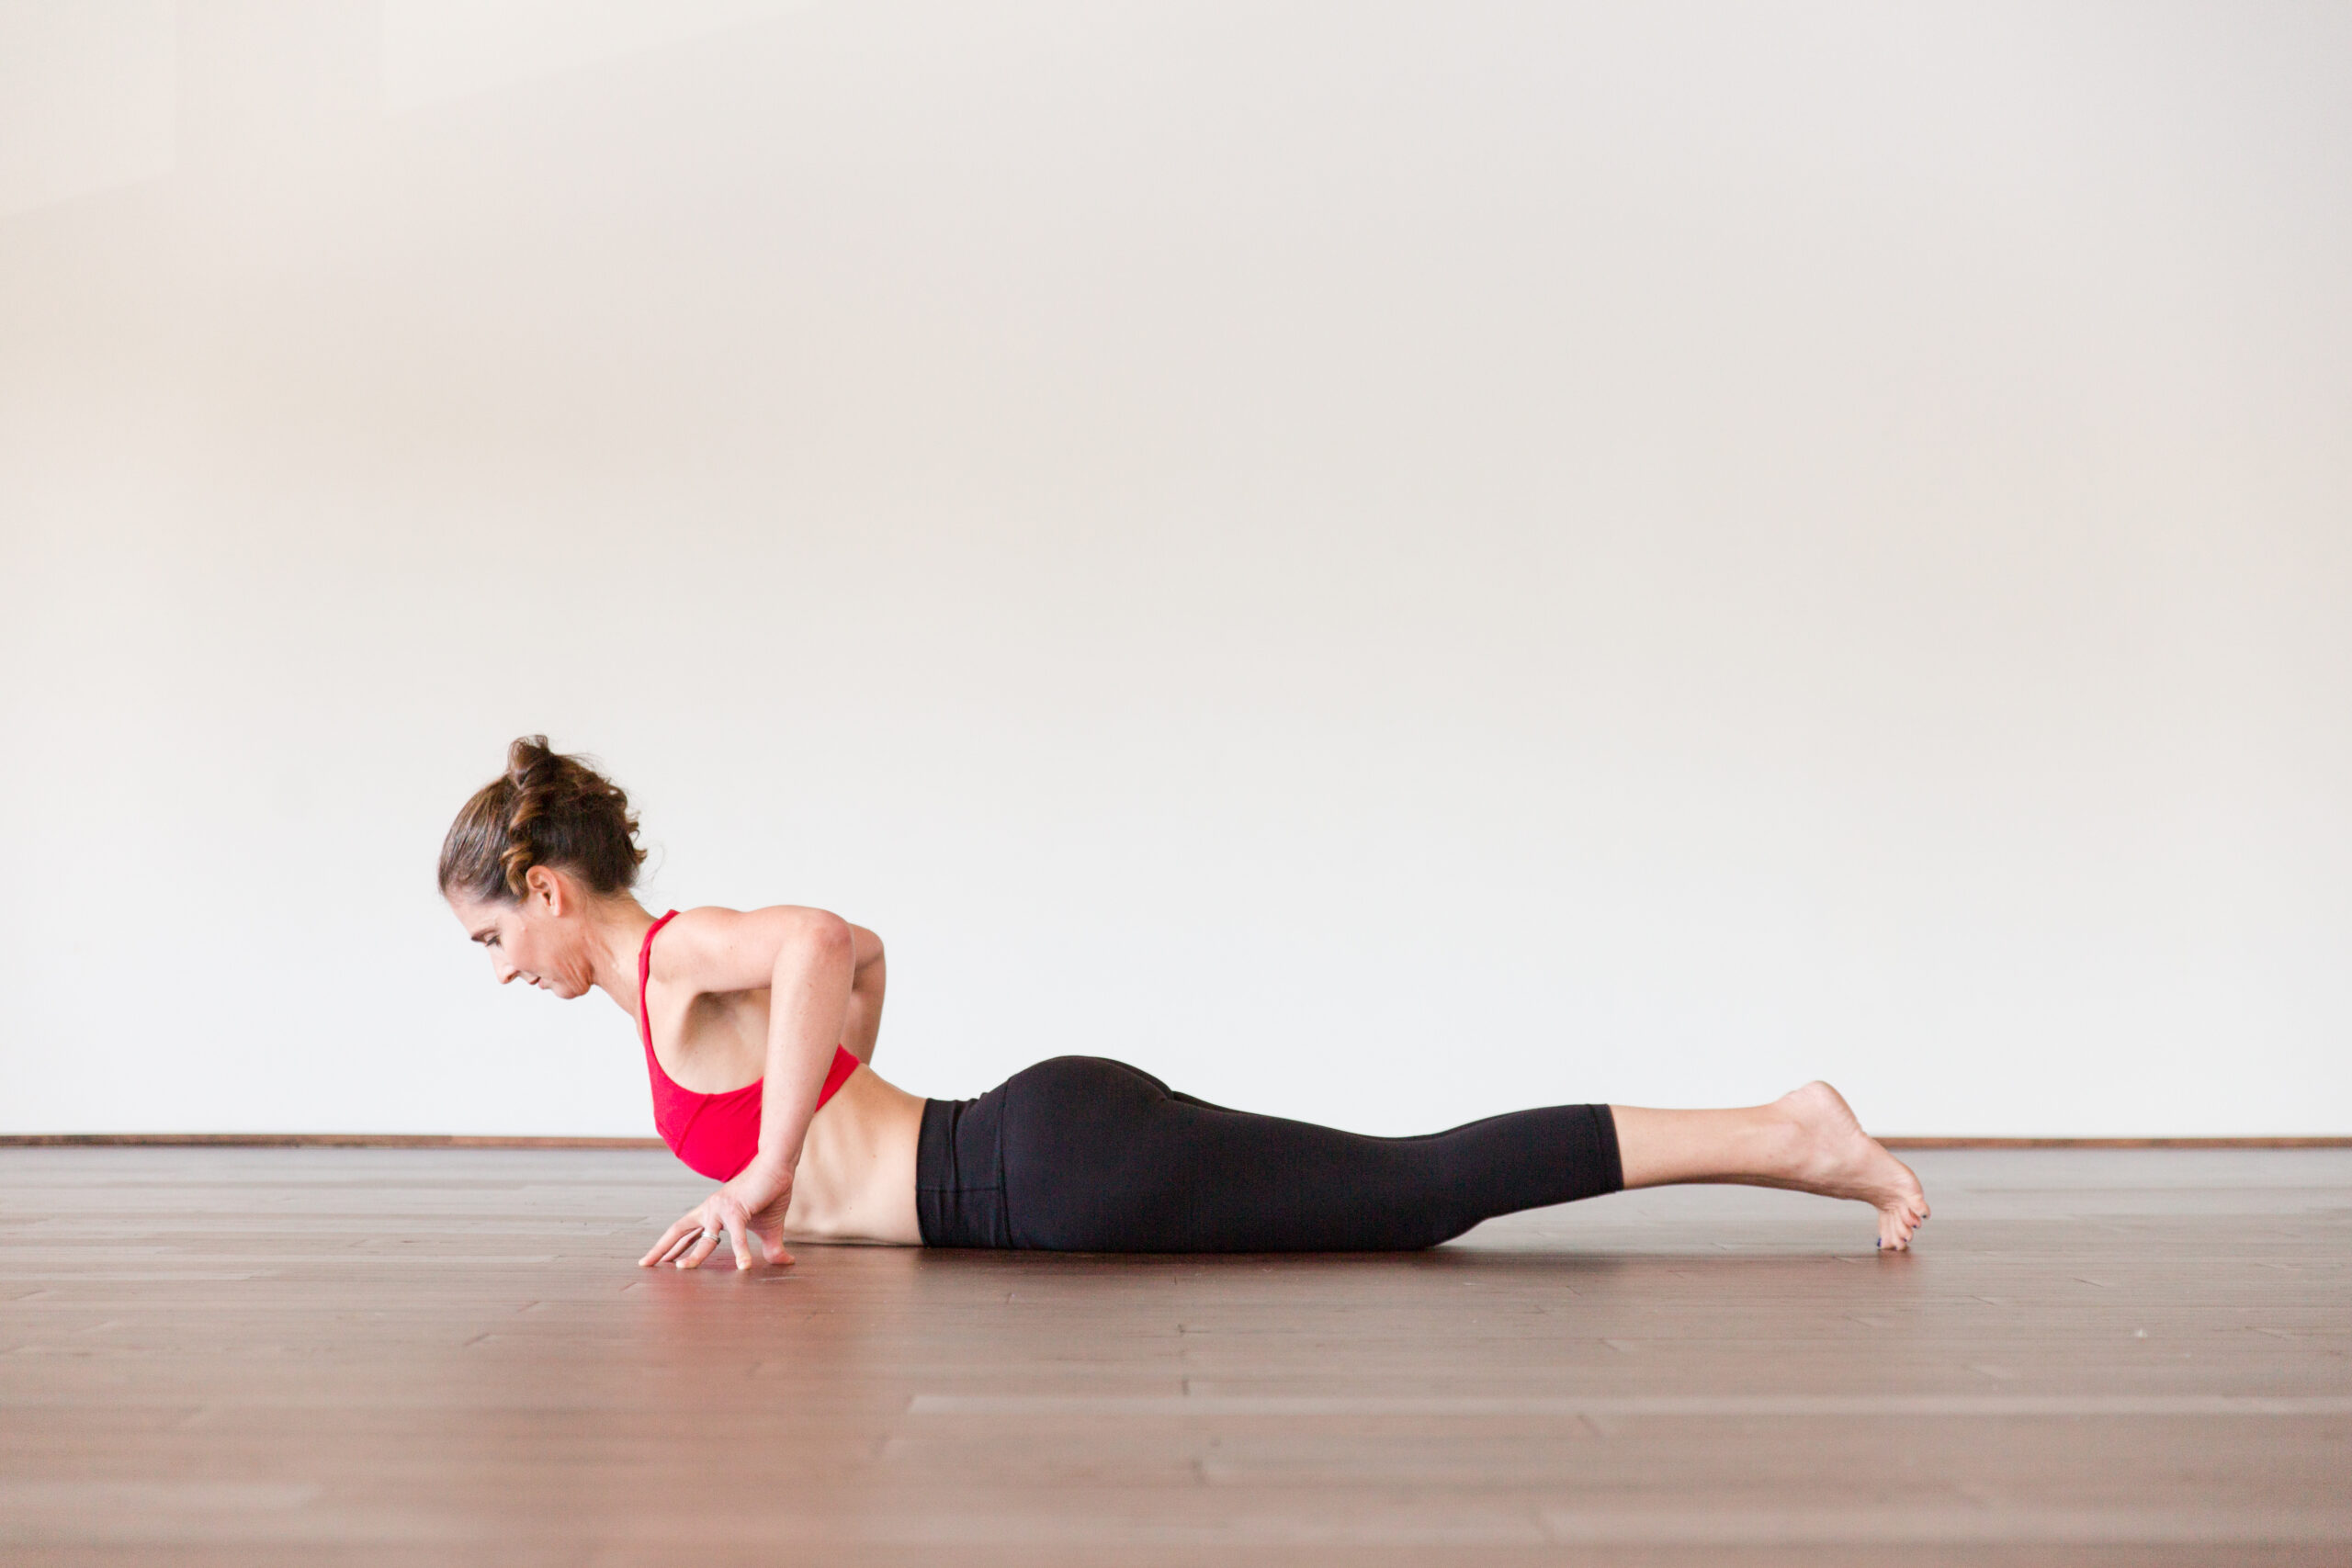
    A traditional Low Lunge puts the pelvis into a deep anterior tilt while dumping into the low back and sinking into the hips. The same is often true of other poses, such as Crescent Lunge, Cobra, Plank, and Upward Facing Dog. 


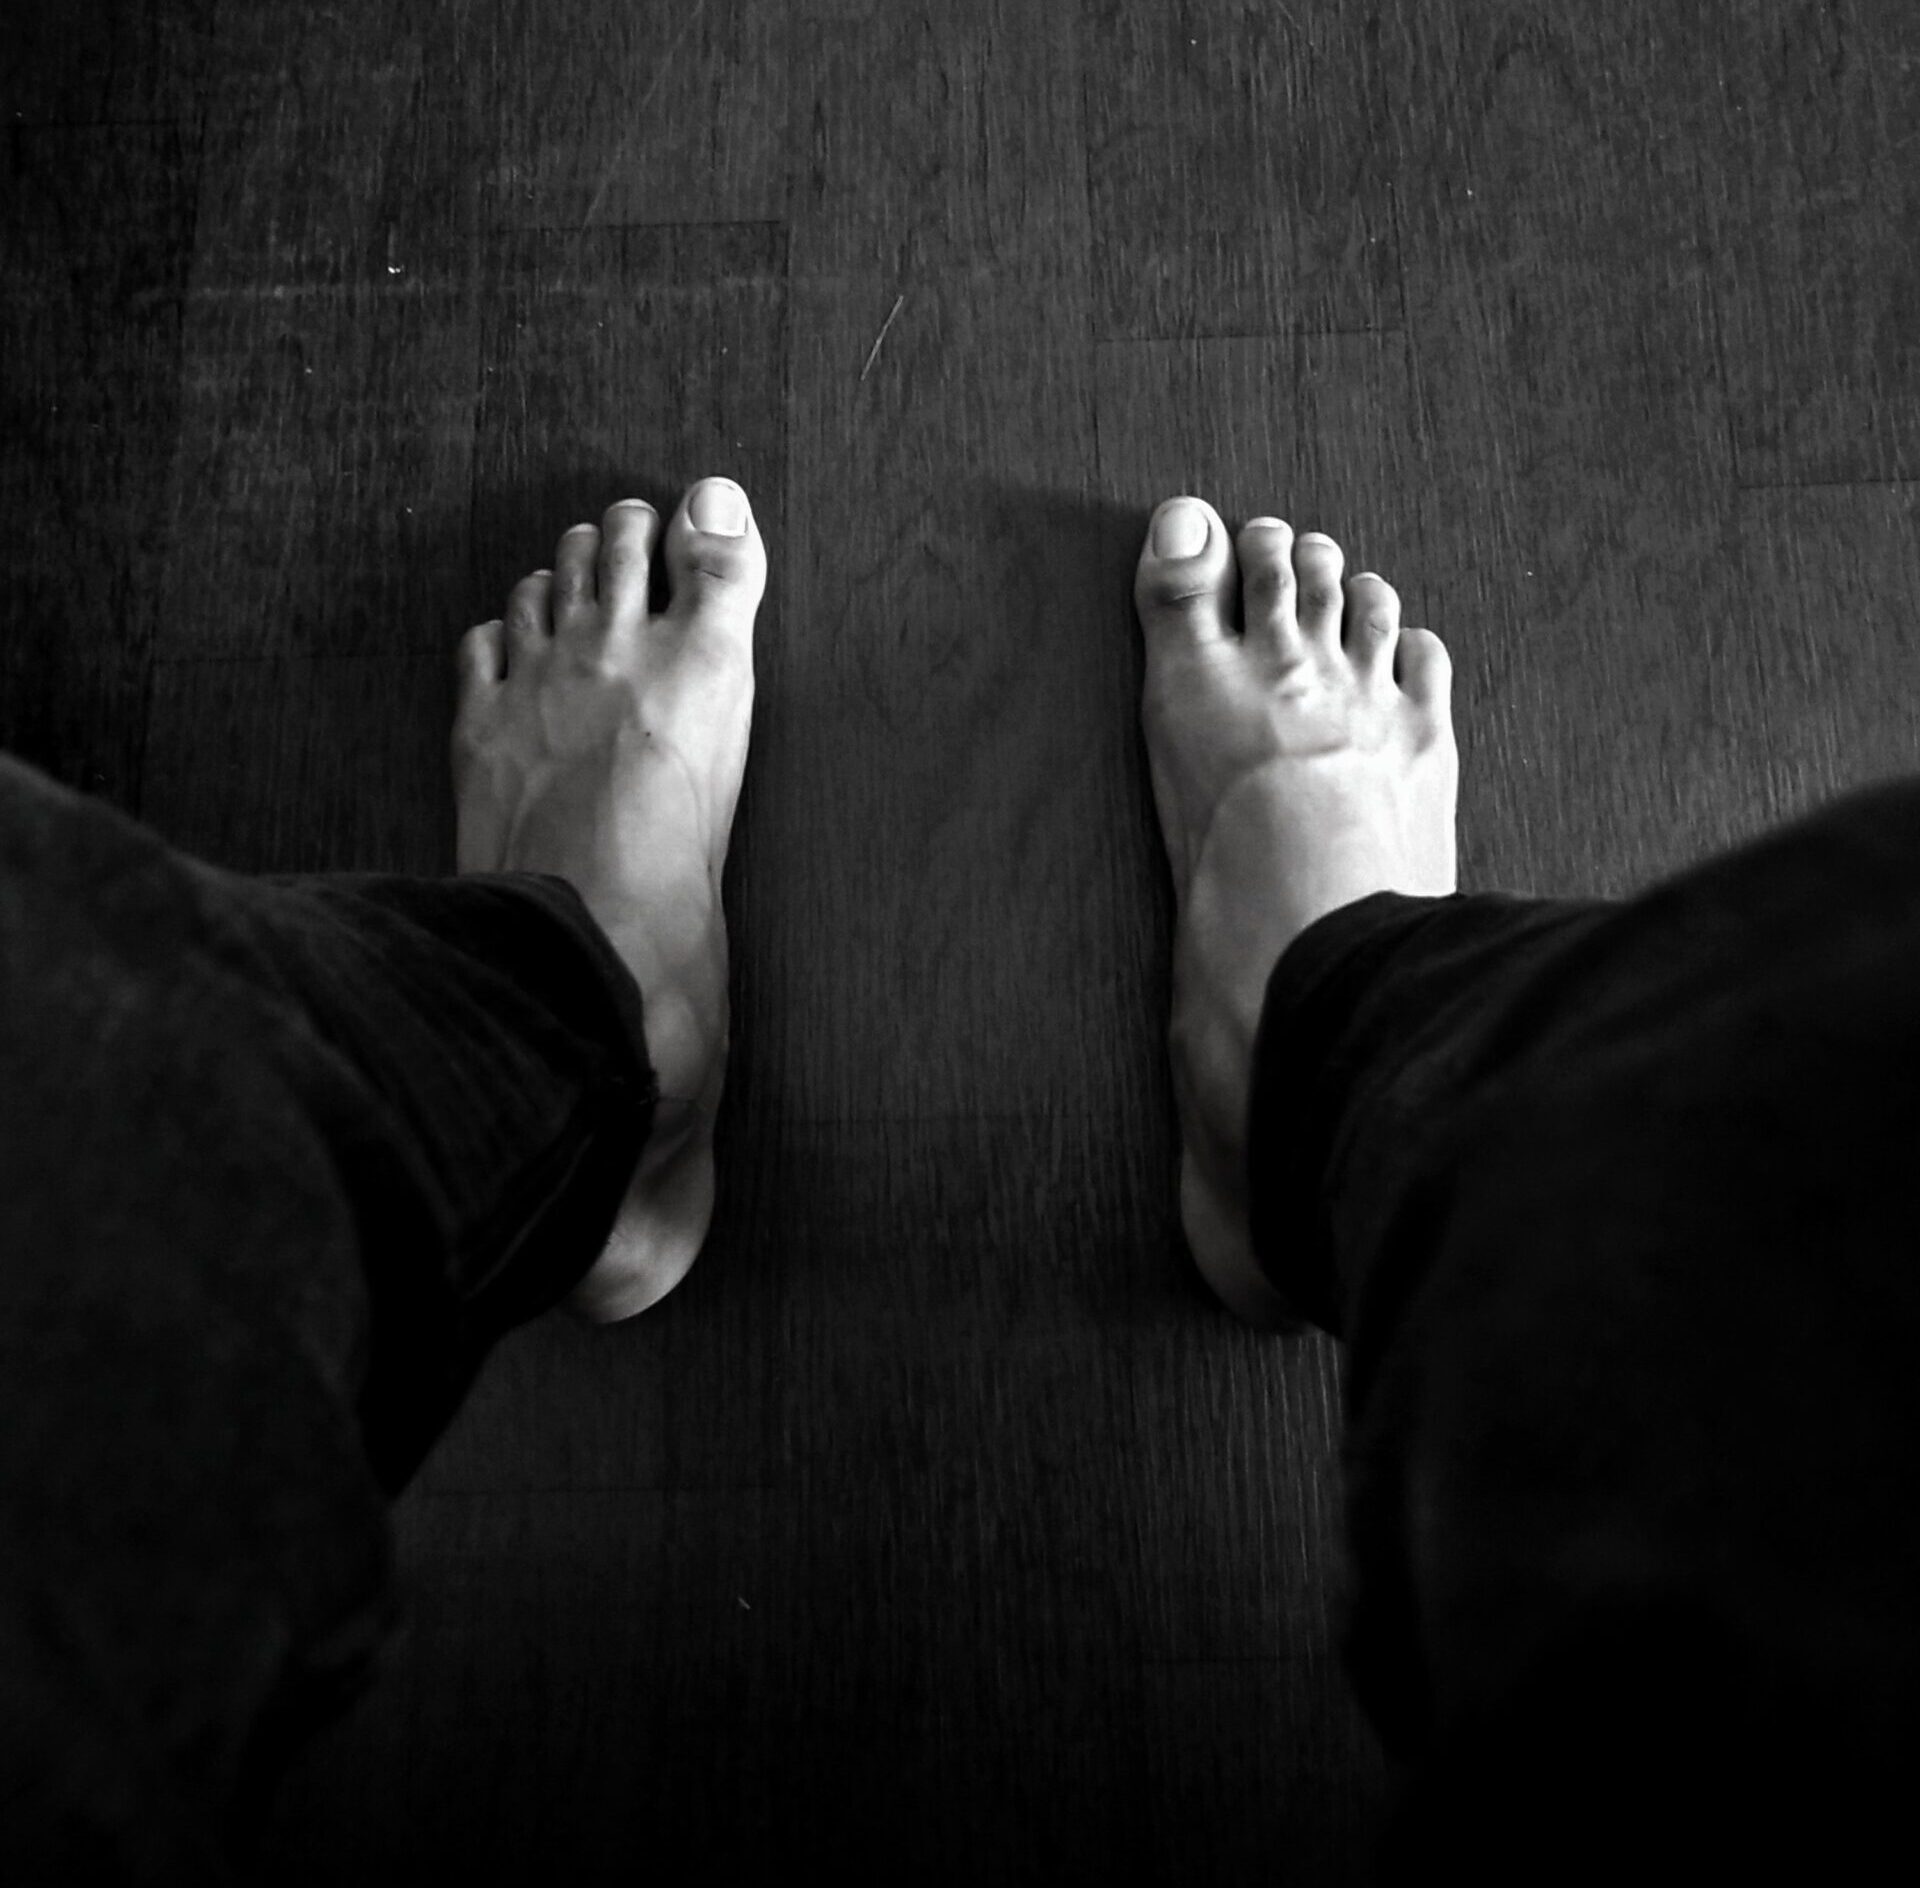
    By finding a neutral pelvis, we eliminate the hyperextension that occurs in the low back and hips. This greatly decreases compression on the discs and lumbosacral joints. In upright poses, the pelvis should be perpendicular to the floor. In prone or supine poses, the pubic bow should draw up towards the sternum, creating length and space in the low back. By minimizing compression and actively lengthening your body with a neutral pelvis, we can decrease low back pain.


    My patients with low back pain are often surprised when we work largely on hip mobility and strength. They feel confused because they came for treatment of their backs, but end up thrilled when, in relatively no time at all, they feel so much better.

    Our hips are the second most mobile joints in the body. If we don’t move through them or stabilize around them, the stress and strain of daily life will shift to the next closest areas: The low back, pelvis, and knees. Utilizing your yoga practice to develop mobility and stability around the hips allows your yoga to become your low back therapy. 

    Many traditional poses sink into the hips passively rather than moving with strength and intention. For example, a traditional Standing Split or Three-legged Down Dog tilts the pelvis to one side and sinks into the standing hip. In LYT Yoga we level the pelvis, allowing for more active hip engagement and a longer lumbar spine. This makes the exercise safe and sustainable. 

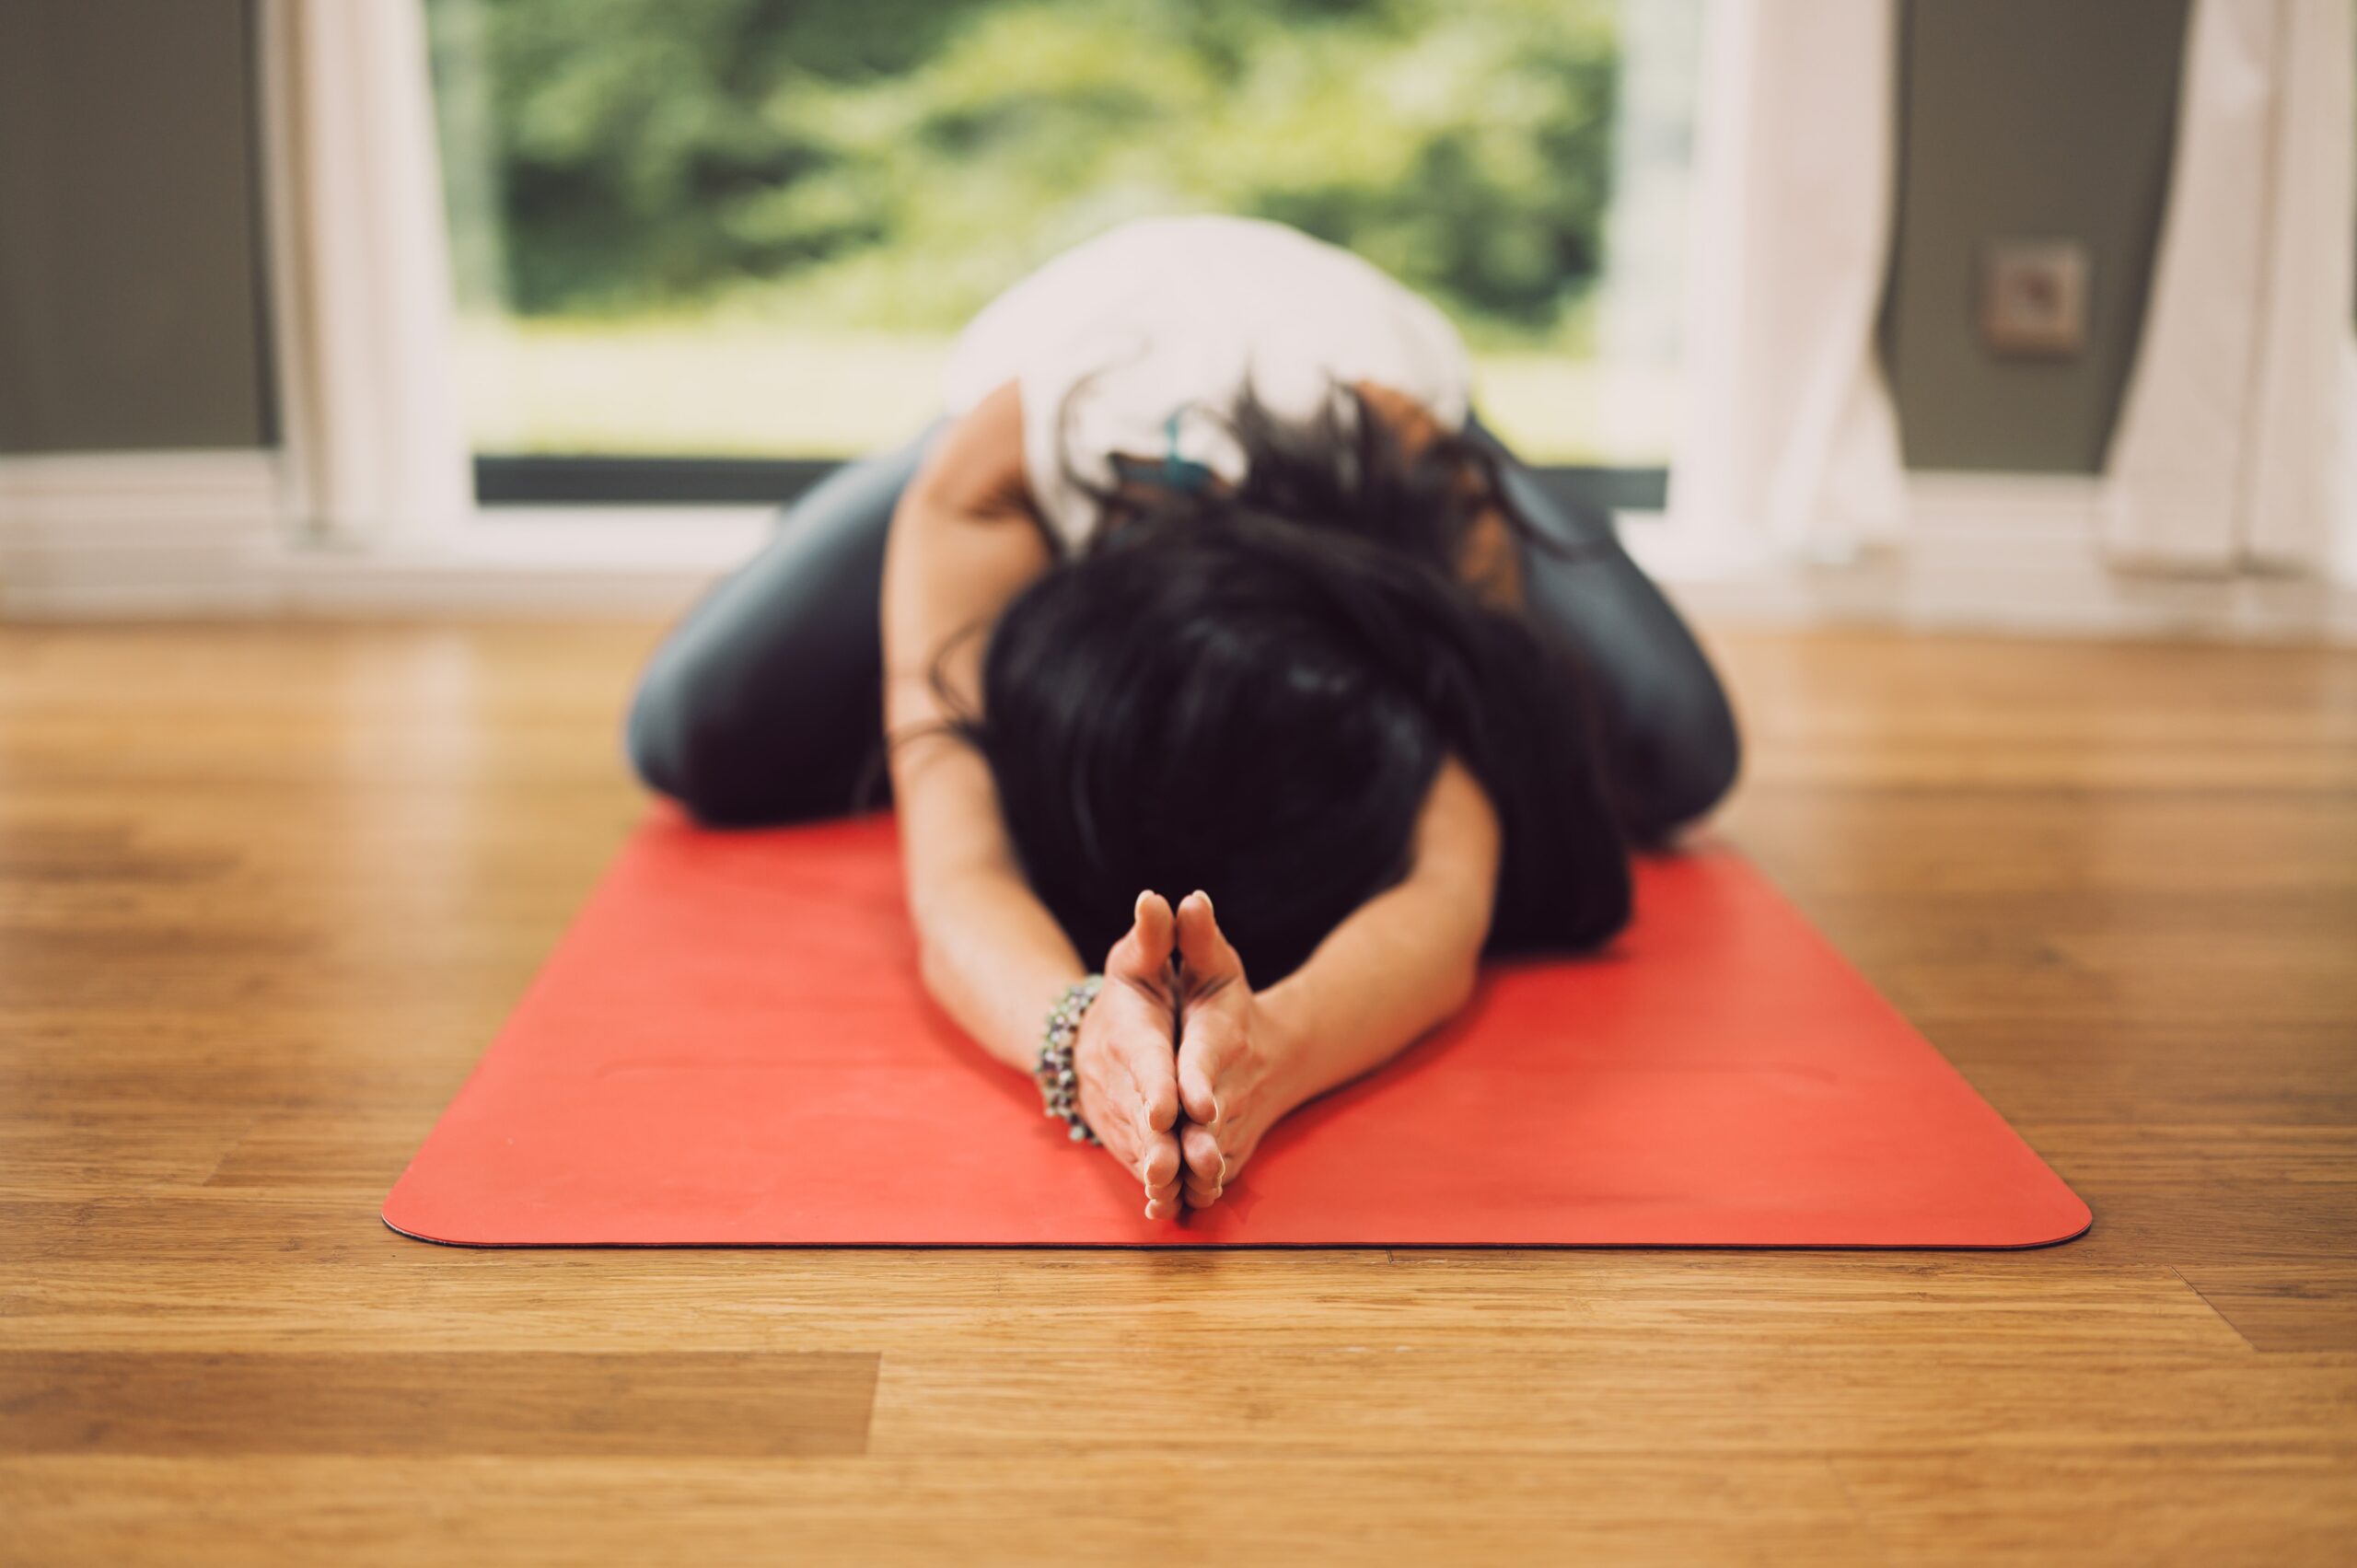
    A traditional yoga Forward Fold flexes at the low back, tipping forward in the pelvis. Neither of these movements is conducive to a healthy lumbar spine over time. Sitting back and flexing the hips and knees keeps the spine long and puts the demand on the larger gluteal muscles instead of the low back muscles.

    Finally, strengthening the core is paramount to practicing yoga, especially yoga that is safe for low back pain. In LYT Yoga, we begin every class with The Reset. We want to establish a neutral pelvis, but we also want to awaken the core, which includes the deep abdominals plus the shoulder and hip girdles. These areas are weak in many people who suffer from low back pain. 

    The Reset warms us up from the inside out. It lets the brain know that the core will be a major player throughout the rest of our practice. Just the act of maintaining a neutral pelvis and scapula during your practice is enough to strengthen your core against future back injuries. Moving from the core container to lift out of the pelvis decreases compression in the low back and alleviates unnecessary weight from the vertebral discs. This is why one of our mantras is “More Core”!

    I have yet to come across a patient suffering from low back pain who wouldn’t benefit from a neutral pelvis, better hip mobility/stability, and increased core strength. I can’t think of a better way to do it than with LYT Yoga. Through our online yoga classes, we strive to educate you on the mat so you can be a better and stronger version of yourself off the mat. 

    The type of yoga matters. The way we move matters. And yes, posture matters. Until next time, I’ll see you on the mat!

    Title tag: Safe Online Yoga Classes for Back Pain

    Meta Description: Online yoga classes are a great way to stay in shape, but they can be dangerous. Learn how to safely do yoga poses to reduce injury and back pain.

  • Under Pressure

    Under Pressure

    by Ashley Newton PT, DPT


    Intra-abdominal pressure is the pressure within the abdominal cavity created by the interaction between the abdominal wall and organs. This pressure changes with breathing and the resistance from the abdominal wall. When we are lifting an object or even lifting a limb, we increase intra-abdominal pressure. The coordination of the diaphragm, abdominals, and pelvic floor musculature works to support the pelvic contents during changes in intra-abdominal pressure. However, suppose the synergy between these muscles is compromised. In that case, they are unable to optimally support the abdominal organs, which results in excessive pressure placed on the back, pelvic organs, and pelvic floor. As a result, issues can arise that include but are not limited to: urinary incontinence, pelvic organ prolapse, back pain, and diastasis recti. So how do we begin to understand if our bodies are managing pressure properly and not putting undue pressure on our abdominal organs and pelvic floor? 


    It all begins with breathing. Our abdominal cavity is capped at the top by the thoracic diaphragm and capped at the bottom by the pelvic floor musculature. This creates the ‘core canister’. When we breathe, the pelvic floor and thoracic diaphragm move down and up together like a piston. If, however, this movement is restricted by fascial tightness, weakened, and/or paradoxical movement (the opposite movement occurs), they are compromised in their ability to support the abdominal contents. So let’s do a breathing exercise to check in on our coordination:


    1. In seated, align skull, scapula, and sacrum.
    2. Make sure you are sitting evenly on your SIT bones.
    3. Bring the tongue to the back of the top teeth and imagine you are pressing a small raspberry up to the top of the mouth.
    4. Place your hands on the sides of your ribs.
    5. Inhale through the nose and think about widening the ribs into your hands. Imagine an umbrella opening.
    6. Exhale through the mouth and imagine “fogging a glass” as you exhale.
    7. Keep your belly soft as you exhale!! (Squeezing the belly can create excess pressure on the pelvic floor and abdominal organs!) 
    8. Repeat 5 times. 


    Breathing is core work and the foundation of better management of intra-abdominal pressure. For this reason, it is also imperative that whenever lifting objects, you do not hold your breath! This creates increased pressure on the abdominal contents, pelvic floor, and the heart which can be dangerous! Always keep breathing while you are lifting in order to prevent an increase in pressure on your musculature and organs. 


    Good lifting mechanics and upright postural alignment optimize the functioning of our core canister and our ability to manage changes in pressure in our body. In this way, our body is able to stabilize the spine and better prevent injuries!

  • Getting Off Center to Find Balance

    Getting Off Center to Find Balance

    by Thalia Wynne, PT, DPT, AT

    @thalialovee


    Why do we care about balance? Physically, balance can be defined as stability. It’s a useful area of focus, especially in yoga, but there is far more to this concept than avoiding injury and managing not to fall over. The more you learn about physiological balance, the more you’ll learn about another, more important kind of balance.


    Balance is an intricate dance of three different physiological systems: The vestibular, somatosensory, and visual systems. The vestibular system uses signals from the inner ear, position sensations known as “proprioception,” and intended movements or “motor commands” to analyze motion. The somatosensory system is governed by your senses of touch, pain, pressure, and temperature. The visual system communicates your physical orientation to your brain via eyesight, such as a view of upside-down objects signaling that your body is upside-down.


    If one of these three systems is inhibited, it will impact your ability to find and maintain balance. One way to develop a strong sense of balance is to make sure that you are not over-relying on one of these three systems for information. Often, we over-rely on vision to tell us where we are in space. 


    Here are some simple things you can do during yoga to reduce an over-reliance on vision:


    1. During your yoga practice, close your eyes while moving on the mat. Remove all stimuli that provide visual information. Pay attention to other signals to tell you where you are in space, such as sounds and feelings. 
    2. Train your vestibular system by finding a target to focus on with your eyes. Move your head side-to-side for 15 to 30 seconds. This may make you feel dizzy so try it while sitting down first. Rest and repeat 2-3 times. 
    3. During your yoga practice, confuse your visual system. Try looking up and down or side to side while holding a pose. This forces you to rely on other systems to find your balance. You’ll learn how to engage your muscles and other senses more effectively.
    4. Lastly, train for optimal posture every day. Read this article by Lara Heimann to learn more about training your body’s posture to find your balance. (link)


    One of the many wonders of yoga is that the principles of physical balance can translate into another, far more important kind of balance: Life balance. To get an idea of what we’re talking about, ask yourself these questions: 


    1. Do I feel satisfied with my life as it is? Why or why not? 
    2. What does it mean to me to have a work-life balance? 
    3. Do I feel I am doing my best? How could I do better? 


    These are not easy questions to answer. To help you, we’d like to introduce the 8 dimensions of wellness:


    1. Physical: Your energy, gut health, sleep, hydration levels, hormonal health, absence of injury/illness, dietary habits, exercise habits, etc. 
    2. Emotional: How well you know and embody your authentic being, self-worth, and emotional regulation; experiencing the full spectrum of your emotions without judgment; how well you resource yourself with grounding tools; how well you trust without co-dependency, etc.
    3. Spiritual: Connection with a greater meaning or a higher power in life, a sense of and pursuit of purpose, actions aligned with your authentic code and beliefs, co-creating with the universe, implementation of practices to connect to God, a Source, a Higher-self, etc. 
    4. Social: Sense of belonging, community, connection with others; quality time with loved ones; awareness of others and your social determinants of health and how they impact interaction; awareness of your implicit biases and using strategies to mitigate them; actively participating in groups; recognizing and mitigating people-pleasing behavior; ability to set boundaries, etc.
    5. Environmental: Curation of a safe space for you and your family, acting in ways that honor and respect your physical world, cleanliness and order of your home and workspaces, access to resources, etc.
    6. Vocational: Meaningful work that aligns with your authentic values and beliefs, recognizing tendencies to overwork or underwork, satisfaction with performance, etc.
    7. Intellectual: Fueling your mind with brain-healthy activities, consuming uplifting content, learning, thinking critically, engaging in self-analysis and self-reflection, doing creative activities that bring you joy, trying new things, etc.
    8. Financial: Healthy money mindset, financial literacy, goal setting and planning, debt management, allocation of resources, etc.


    Below is an exercise that will help you analyze your overall balance in these areas. You will rank each of these dimensions from 0 to 5. 


    0 = unsatisfied/unhappy 

    5 = most satisfied/happy.


    It is normal to score less than a 5 in multiple areas—if not all of them! Your scores will also constantly shift through your week, month, and lifetime because your priorities shift all the time. The good news is that these scores can indicate important areas of focus, areas where you can set personal goals for improvement. 


    You will likely need to get out of your comfort zone in order to grow in these areas, much like forcing your body to rely on other senses and queues to develop a stronger sense of balance. Similar to the way that your three physiological systems of balance can work together, these eight areas of life balance can and should work together in promoting your overall wellness. Your mind, body, and spirit will begin learning how to rely on one another for strength. The key is being okay with being off-balance. 

  • How to Backbend Better

    How to Backbend Better

    A backbend is a yoga pose involving an inverted stretch, extending backward to form a bridge shape. This is a popular, fundamental yoga pose for opening the chest and engaging the hip extensors.

    If you dislike the way backbends feel in your body, start with the mechanics. When done right, a backbend should feel invigorating and refreshing. If it’s painful, you’re probably not positioning your body correctly. Focusing on the basics will help you do the pose painlessly.

    Cobra pose, known in yoga as Bhujangasana, is a great starting pose for practicing a backbend. This pose helps with your breathing and alignment. It is one of the few yoga poses that uses a “pull” force, extending the spine while working the arms. It opens the front of the body while strengthening the back of the body and re-establishing a neutral pelvis.

    Sometimes people misinterpret the Cobra pose, thinking the head should drop back as the “hood” of the throat opens up and the hands should push down to get more of a “backbend.” This common misalignment hyperextends the neck and compresses the low back, causing more harm than good. The height of the cobra is not as important as the action and alignment. Let yourself feel the openness in your chest. 

    How To Practice Cobra

    Lie on your belly and press your public bone down to the floor. If this is challenging, place a blanket or folded towel under your pelvis to keep it neutral and not tipped forward. Bring your hands under your shoulders and push against the floor. Use this pushing action to bring the chest forward as you pull your hands back, spreading the chest tissue as the “hood” of the cobra opens up. 

    Look forward and lengthen the back of your neck. Engage the back body, including the glutes, to create a counter-stability for your chest opening. Typically, an inhale will help the movement. Lower your chest as you exhale. Perform 3-5 reps and lift into plank.

    You can also practice moving from a plank into the Cobra position. Lower your torso to the floor with an exhale, pull into the Cobra on an inhale, and return to plank on an exhale by pushing the floor away. Repeat often in a yoga sequence or on its own throughout the day. 

    Once you feel that you’ve mastered Cobra, you’ll be able to transition into a backbend. Use the same techniques for arching backward and opening your chest, but practice beginning on your feet. You’ll be amazed at how far you can comfortably reach!

    How To Practice Wheel Pose

    For a “deeper” backbend, yogis often aspire to do a Wheel pose. This is a big backbend. In order to prepare for and adapt to this advanced position, yogis must prepare their bodies during practice in a variety of areas. Focus your daily exercise on developing mobile shoulders and hips. Engage your spine, pelvis, and glutes in as many stretches as possible. Once you feel strong and confident in these important areas, you’re ready to begin practicing Wheel pose. 

    To safely do Wheel, the yogi must actively extend the spine and engage the core. If you lie over a big therapy ball or a yoga trapeze, you can get the same spinal extension but it’s much more passive. Practicing for Wheel pose activates your legs, arms, and core, making it safer and more beneficial than a passive stretch.

    The best way to modify or prepare for Wheel is to work on the fundamental building blocks. Begin with a solid bridge pose with a neutral pelvis and active glutes. Next, move close to a wall with your head near and feet farthest away from the wall. 

    Place two yoga blocks against the wall and bring your hands to the blocks. Attempt to press down and lift your head off the floor after you have first lifted into bridge pose. The blocks make it a bit easier for the shoulder opening but you still might have to work on the required strength to push off.

    Making Wheel more challenging is fairly easy. You can lift one leg at a time, or you can lift one arm at a time and grab one calf with that hand. (Just don’t do both at the same time!) You can also lower your forearms to the floor for a greater opening in the shoulders and chest.

    Start small and find joy in the nuances of bending your back with strength, integrity, and patience. It’s okay if the stretch is simple and gentle at first. With practice, your body will be capable of the amazing, rejuvenating backbend pose.

  • Fight or Flight and The Pelvic Floor

    Fight or Flight and The Pelvic Floor

    by ashley newton, pt, dpt


    The pelvic floor is known to hold onto stress. The body has nerves that go to the pelvic floor that are intimately connected with our sense of fight or flight. This area of our body is responsible for supporting our organs, so it makes sense that when the body and brain are stressed, we tighten these muscles as a method of protection. This guarding can become maladaptive when the brain and body get stuck in fight or flight mode. In pelvic PT, we refer to this state as ‘up-regulated’, a state where the nervous system is in an excitatory state and our body is focused on survival. In survival mode, the pelvic floor’s adaptability can become compromised and result in some of the following issues:


    1. Pelvic Pain: The pelvic floor muscles contract and guard in response to pain but sometimes, they get stuck in guarding mode. When the muscles undergo stretching during things like sexual activity, the experience can be painful! 
    2. Changes in Voiding: If the pelvic floor gets stuck in ‘on’ mode, it can be difficult to relax after. With both urination and defecation, the pelvic floor needs to relax and lengthen in order to completely void. If the muscles are having trouble lengthening because they are gripping/contracting, voids may feel incomplete or difficult to pass. 
    3. Leakage: If the pelvic floor muscles are gripping, guarding, and staying in fight or flight mode, they can have trouble doing their job of closing around the urethra and rectum to maintain continence. 
    4. Weakness: If the pelvic floor is constantly tightening, it becomes weak. This prevents us from being able to recruit these muscles readily to do their job of stabilizing the pelvis when we move. As a result, other tissues may become overloaded trying to do the job of the pelvic floor. 


    Ways to Get Out of Fight or Flight Mode

    To get the body and brain unstuck and move into a more relaxed, down-regulated state, we recommend trying the following exercises:


    1. Legs Up Wall: Place a pillow under the pelvis and bring the legs to a wall so they are supported. Allow the legs to relax and practice diaphragmatic breathing. 
    2. Child’s Pose: Begin on hands and knees and sit the pelvis back to the heels with the knees apart. Begin breathing into the back and direct the breath down to the SIT bones, sensing that they move apart as you inhale and draw back toward your midline as you exhale
    3. Mindful Walking: Get out in nature and practice relaxing the arms and unclenching the jaw as you walk. 
    4. Daily Yoga: You can practice yoga as a way to stretch your pelvic floor muscles. With simple exercises, your pelvic floor will begin to relax and experience healthy contracting. Online yoga classes are a great way to start your stretching right from your home.
  • Four Simple Intrinsic Foot Exercises for Happy Feet

    Four Simple Intrinsic Foot Exercises for Happy Feet

    by Thalia Wynne, PT, DPT, AT


    Having poor foot intrinsic muscle activation can be an unknown cause of foot and ankle pain. Your foot intrinsic muscles are small muscles in the feet that help control your foot mechanics, provide balance and stability, and help with proprioception (your ability to sense the environment). When people come in with physical therapy with foot, ankle, knee, hip, and even back issues, we often check their foot mechanics by analyzing their gait and using the exercises listed below to see how well they can control their feet. Yoga classes can help with strengthening the foot muscles. You can get the best of both worlds by combining intrinsic foot exercises with daily yoga classes.


    By keeping your foot intrinsic muscles active and healthy, you are setting yourself up for success every time your foot hits the ground. In other words, happy feet equals a happy life! Give these moves a try to see how well you can activate your foot. If these exercises are hard or you physically can’t do them, don’t worry. Our brains are smart and the more you practice, the easier these will become. We often tell patients, “just keep staring at your foot and thinking about moving it. It’ll eventually happen.” This is because of the ‘use it or lose it’ principle in neuroanatomy. If we do not use a muscle, our brain shuts down that neural pathway in favor of saving energy for the systems we do use more often. This is problematic if you are not using the appropriate muscles to carry out your activities of daily living. If we strengthen that neural pathway with concentrated attention and repetition through yoga classes, we can get control back. Pay special attention to these little muscles of the foot to improve your arch support, and foot mobility, and ultimately move better! 


    1. TOE YOGA

    Figure 1 (b)

    Figure 1.

    Figure 2 (c)

    Figure 2.

    Instructions

    1. Start position: seated or standing with foot flat on the floor.
    2. Lift big toe without lifting the other four toes. Focus on pressing the balls of your little toes down to stabilize, but don’t grip the floor with your toes. Lower down. 
    3. Lift the little toes without lifting the big toe. Focus on driving the ball of the big toe down to lift the little toes up. Again, don’t grip the floor by curling the toes. Lower. 
    4. Keep alternating between the two (Figures 1 & 2).

    Parameters: 2 sets of 15-20x.


    2. BIG TOE ABDUCTION

    Figure 3 (a)

    Figure 3.

    Figure 4 (b)

    Figure 4.

    Instructions:

    1. Start position: seated or standing with both feet side by side but without touching. (Figure 3.)
    2. Slide big toes together without lifting your foot off the floor. (Figure 4.) Return to neutral.
    3. Repeat.

    Parameters: 2 sets of 15-20x.


    3. ARCH DOMING PROGRESSION

    Figure 5 (b)

    Figure 5.

    Figure 6 (c) & 7 (a)

    Figure 6.

    Progression #1 

    1. Start position: seated or standing with foot flat on the floor. 
    2. Pick up all the toes but keep the balls of the feet connected to the floor. Feel how this raises your arch? (Figure 5.)
    3. Keep your arch height as you slowly let the toes come down. (Figure 6.) Hold for 5 seconds. Release the arch and relax. 
    4. Repeat. 

    Parameters: 2 sets of 15-20x.

    Figure 6 (c) & 7 (a)

    Figure 7.

    Figure 8.

    Progression #2

    1. Start position: seated or standing, with foot flat on the floor. (Figure 7.)
    2. Raise the arch of your foot without curling the toes. (Figure 8.) Hold for 5 seconds. 
    3. Relax. Repeat. 

    Parameters: 2 sets of 15-20x.


    Progression #3

    1. Start position: standing with feet flat on floor. (Figure 7.)
    2. Hold your arch up – we call this “doming”. (Figure 8.)
    3. Dome the arch while performing different movements. Try a squat, lunge, and side lunge. See how well you can maintain good arch support with these movement patterns. Repeat. 

    Parameters: 2 sets of 15-20x. 


    4. BIG TOE EXTENSION STRETCH

    Figure 9 (c)

    Figure 9.

    Instructions 

    1. Start position:  sitting, foot flat on the floor.
    2. Lift the heel off the floor, like a heel raise. (Figure 9.)
    3. Slide your foot back until you feel a stretch on your big toe. Keep your foot from turning in or out as you do this. 
    4. Hold for 5 breaths. 
    5. Repeat. 

    Parameters: Perform 2 sets. 


    Shoot me a video to show off your foot skills and have a healthy, happy, barefoot summer! 


    XO, 

    Thalia Wynne, PT, DPT, AT

    @thalialovee

  • The Glory of Fascia

    The Glory of Fascia

    by Sarah Apple


    June is skin health month and also my personal favorite month as my birthday is in June! 🙂 What better way to celebrate than to discuss my newfound favorite topic FASCIA! So what is this new buzzword?


    As John Barnes explains, “The fascial system surrounds, infuses with, and has the potential to profoundly influence every muscle, bone, nerve, blood vessel, organ, and cell of the body. Fascia also separates, supports, connects, and protects everything. This three-dimensional web of connective tissue is alive and ever-changing as the body demands. Thus it is a network for information exchange, influencing and influenced by every structure, system, and cell in the organism. Like air and gravity, its influence is so all-pervasive that we have tended to take it for granted.” 


    WOW! What a powerful statement. We often move through life and our busy schedules abusing our bodies without even knowing it until something breaks down and we experience pain, dysfunction, fatigue, etc. Deep inside, however, our bodies are holding onto this trauma, whether it be from day-to-day experiences, repressed memories from your childhood and distant past, or some might even argue from a previous life. All of these emotions and behaviors get trapped inside our bodies, and we continually move into positions of tension and stress, habitually creating more fascial crosslinks or intertwining of tissues. The longer we go without addressing this deeper layer, the longer it will take to truly unwind these structures and return the body to a resting or parasympathetic state. 


    So what does this have to do with skin? As mentioned above, fascia has connections to everything – including the skin – and it uses the skin to help send the body (and myofascial release therapists) a message. When we begin to dive deeper into the fascial layer and release restrictions, the body enters a parasympathetic state and increases blood circulation creating a redness response in the skin. Sometimes this response happens in the actual area of the body being addressed, but more often it appears somewhere else in the body entirely! This reveals fascia’s connections throughout the body and also guides us on where we should address next. Our subconscious minds are incredibly smart, telling our bodies to constantly adapt and change to support our needs. Although you might be experiencing pain or sensation in one area of the body, it could be related to somewhere else. Think of wearing a tight sweater. When you pull it from the top it often gets stuck elsewhere. Fascia works in a similar way, with symptoms often appearing in a different area than the actual issue.


    Like our skin, fascia is composed of collagen and elastin fibers that help absorb tensile forces in the body. Then there is a polysaccharide gel complex that fills the spaces between fibers. This complex allows the muscle fibers to slide over each other with minimal friction as well as to absorb the compressive forces of movement. As long as the forces are not too great, the gel is designed to absorb the shock of tensile forces and disperse them throughout the body. If fascia is restricted at the time of trauma, they are unable to perform their job and often result in injury. The same result can take place over time through microtrauma, such as having leg length discrepancies due to a rotated pelvis. Every step further imbalances the body, forcing the body to compensate through muscular spasm, fascial restriction, and PAIN.


    Myofascial release techniques can be performed to help reduce these symptoms. With these techniques, the enormous pressure of the fascial restrictions are eliminated from pain-sensitive structures, producing increased range of motion, alleviating symptoms, and restoring the normal quality of motion and the body’s ability to absorb shock. When having these techniques performed it is important to rehydrate the tissues because, as described above, this gel-like matrix is composed of mostly WATER. Releasing the toxins and restrictions and refueling the body with hydration allows for deep tissue healing, as well as superficial skin results, and even emotional releases! Find a myofascial therapist near you to experience the results for yourself! 


    Search for a therapist near you: http://mfrtherapists.com/


    Happy Skin Health month y’all!

  • Barefoot and Happy

    Barefoot and Happy

    The month of June is all about bare feet on LYT! This week, Lara interviewed podiatrist Emily Splichal for her Redefining Yoga podcast and on Saturday, June 18th, I’ll be doing our monthly workshop on LYT Daily about being Barefoot Happy. If you’re like me, you find yourself barefoot around the house all the time. I do it for comfort reasons, but being barefoot has dramatic benefits for our bodies as well. 

    Barefoot Happy


    The human foot is a very complex structure, which allows it to be adaptable to the loads placed upon it. During the gait pattern, it must be stable at heel strike and push off, while becoming a mobile adaptor during mid-stance. The arch possesses spring-like characteristics, storing and releasing energy with each step and the deformation of this arch is controlled by both intrinsic and extrinsic muscles. Therefore, stability of the arch is imperative for normal foot function and can be likened to the “core” of the foot. 


    The general consensus in the literature is that habitually barefoot people have stronger feet and fewer foot deformities. Studies have shown that barefoot walking individuals tend to have a wider forefoot, higher arch, more pliable feet, and reduced bunions/hallux angle as compared to people who regularly wear shoes. The literature has also shown that footwear has a significant impact on the gait pattern and can be an extrinsic factor for decreased gait performance over time. McKeon et al. found that permanent support to the foot may result in decreased efficiency of the foot muscles. Their study also suggests that walking barefoot is less restrictive to the motion of the foot, thereby increasing the sensitivity of the stretch mechanisms and activating the musculature of the foot and lower leg. 


    Another advantage of being barefoot is the increase in sensory input received from the sole of the foot. Sensory input has long been recognized for its importance in postural stability and dynamic gait patterns. Stability has been shown to progressively decrease with increasing amounts of footwear support. It’s a fact that as we age, we lose sensitivity in our feet. Coupling that with losing mobility by wearing restrictive shoes all the time can have a detrimental effect on balance and increase the risk of falling as we age. Being barefoot sharpens the connection between the sensory receptors of the foot and brain, giving us better and quicker information about where we are in space. Walking barefoot is one of the most fundamental sensorimotor tasks we perform. If you don’t use it, you lose it. By using and stimulating the nerves in the feet more often, you encourage their physical growth, which improves sensitivity. It is even believed to improve circulation, as we use more of the fine motor muscle of the foot and ankle while barefoot, which moves the blood and lymph more efficiently. When we’re more sensitive to changes occurring under the feet, we’re more able to react when our balance shifts and therefore, reduce our chances of falling. So when we put an overly-supportive or overly-cushioned shoe on the foot, we significantly reduce the amount of sensory feedback from these receptors. In another study, Shinohara and Gribble found that even wearing thin socks decreases postural stability in single-leg standing as compared to bare feet! So one can only extrapolate the effects of regular shoe wear.


    I think the message is clear here…slip off your shoes whenever you can! We do it every time we get on our mat, which is just one of many things I love about yoga in general. Try it around the house and around the yard. Free up those toes by checking out a pair of Correct Toes at our LYT Store! Your body and your brain will thank you in the long run!


    Xoxo,

    Kristin