Tag: core

  • 5 Simple Core Strengthening Exercises

    5 Simple Core Strengthening Exercises

    In the LYT Method, we stand by the motto “More Core” for a reason. Whether you’re reaching for something, balancing, getting up off the floor, or simply standing in one place, the muscles of the core are working to keep your spine and pelvis stable. Unfortunately, many people are weak in their core. Most people think only of the abdominals when they hear the term “core”, but there’s a much broader picture to consider when wanting to strengthen this area. We need to consider not only the spine, but also the girdles of the shoulders, hips, and pelvis when incorporating core strengthening exercises. 


    Why does core strength and stability matter and why incorporate core strengthening exercises? Movement of the body through space depends on the creation and transfer of forces between different segments of the body. For example when we bend over to pick something up off the floor, not only do we need the strength of the arms to lift the object up, but we need to stabilize and lift through the lower body and transfer force through the trunk just to make this movement occur. Failure to do so successfully can increase the risk of injury anywhere along this chain of movement. 


    Core stabilization exercises have been shown to reduce the risk of this type of injury, as well as decreasing pain, reducing disability, and restoring/increasing strength. When core muscles are activated, there is an increased stiffness of the spine which enhances stability, allowing for this transfer of force. We need to strengthen not only the deep postural muscles but also mover muscles, as both have been shown to be key in stability. 


    Here are five simple (yet challenging!) exercises to improve your core stability:


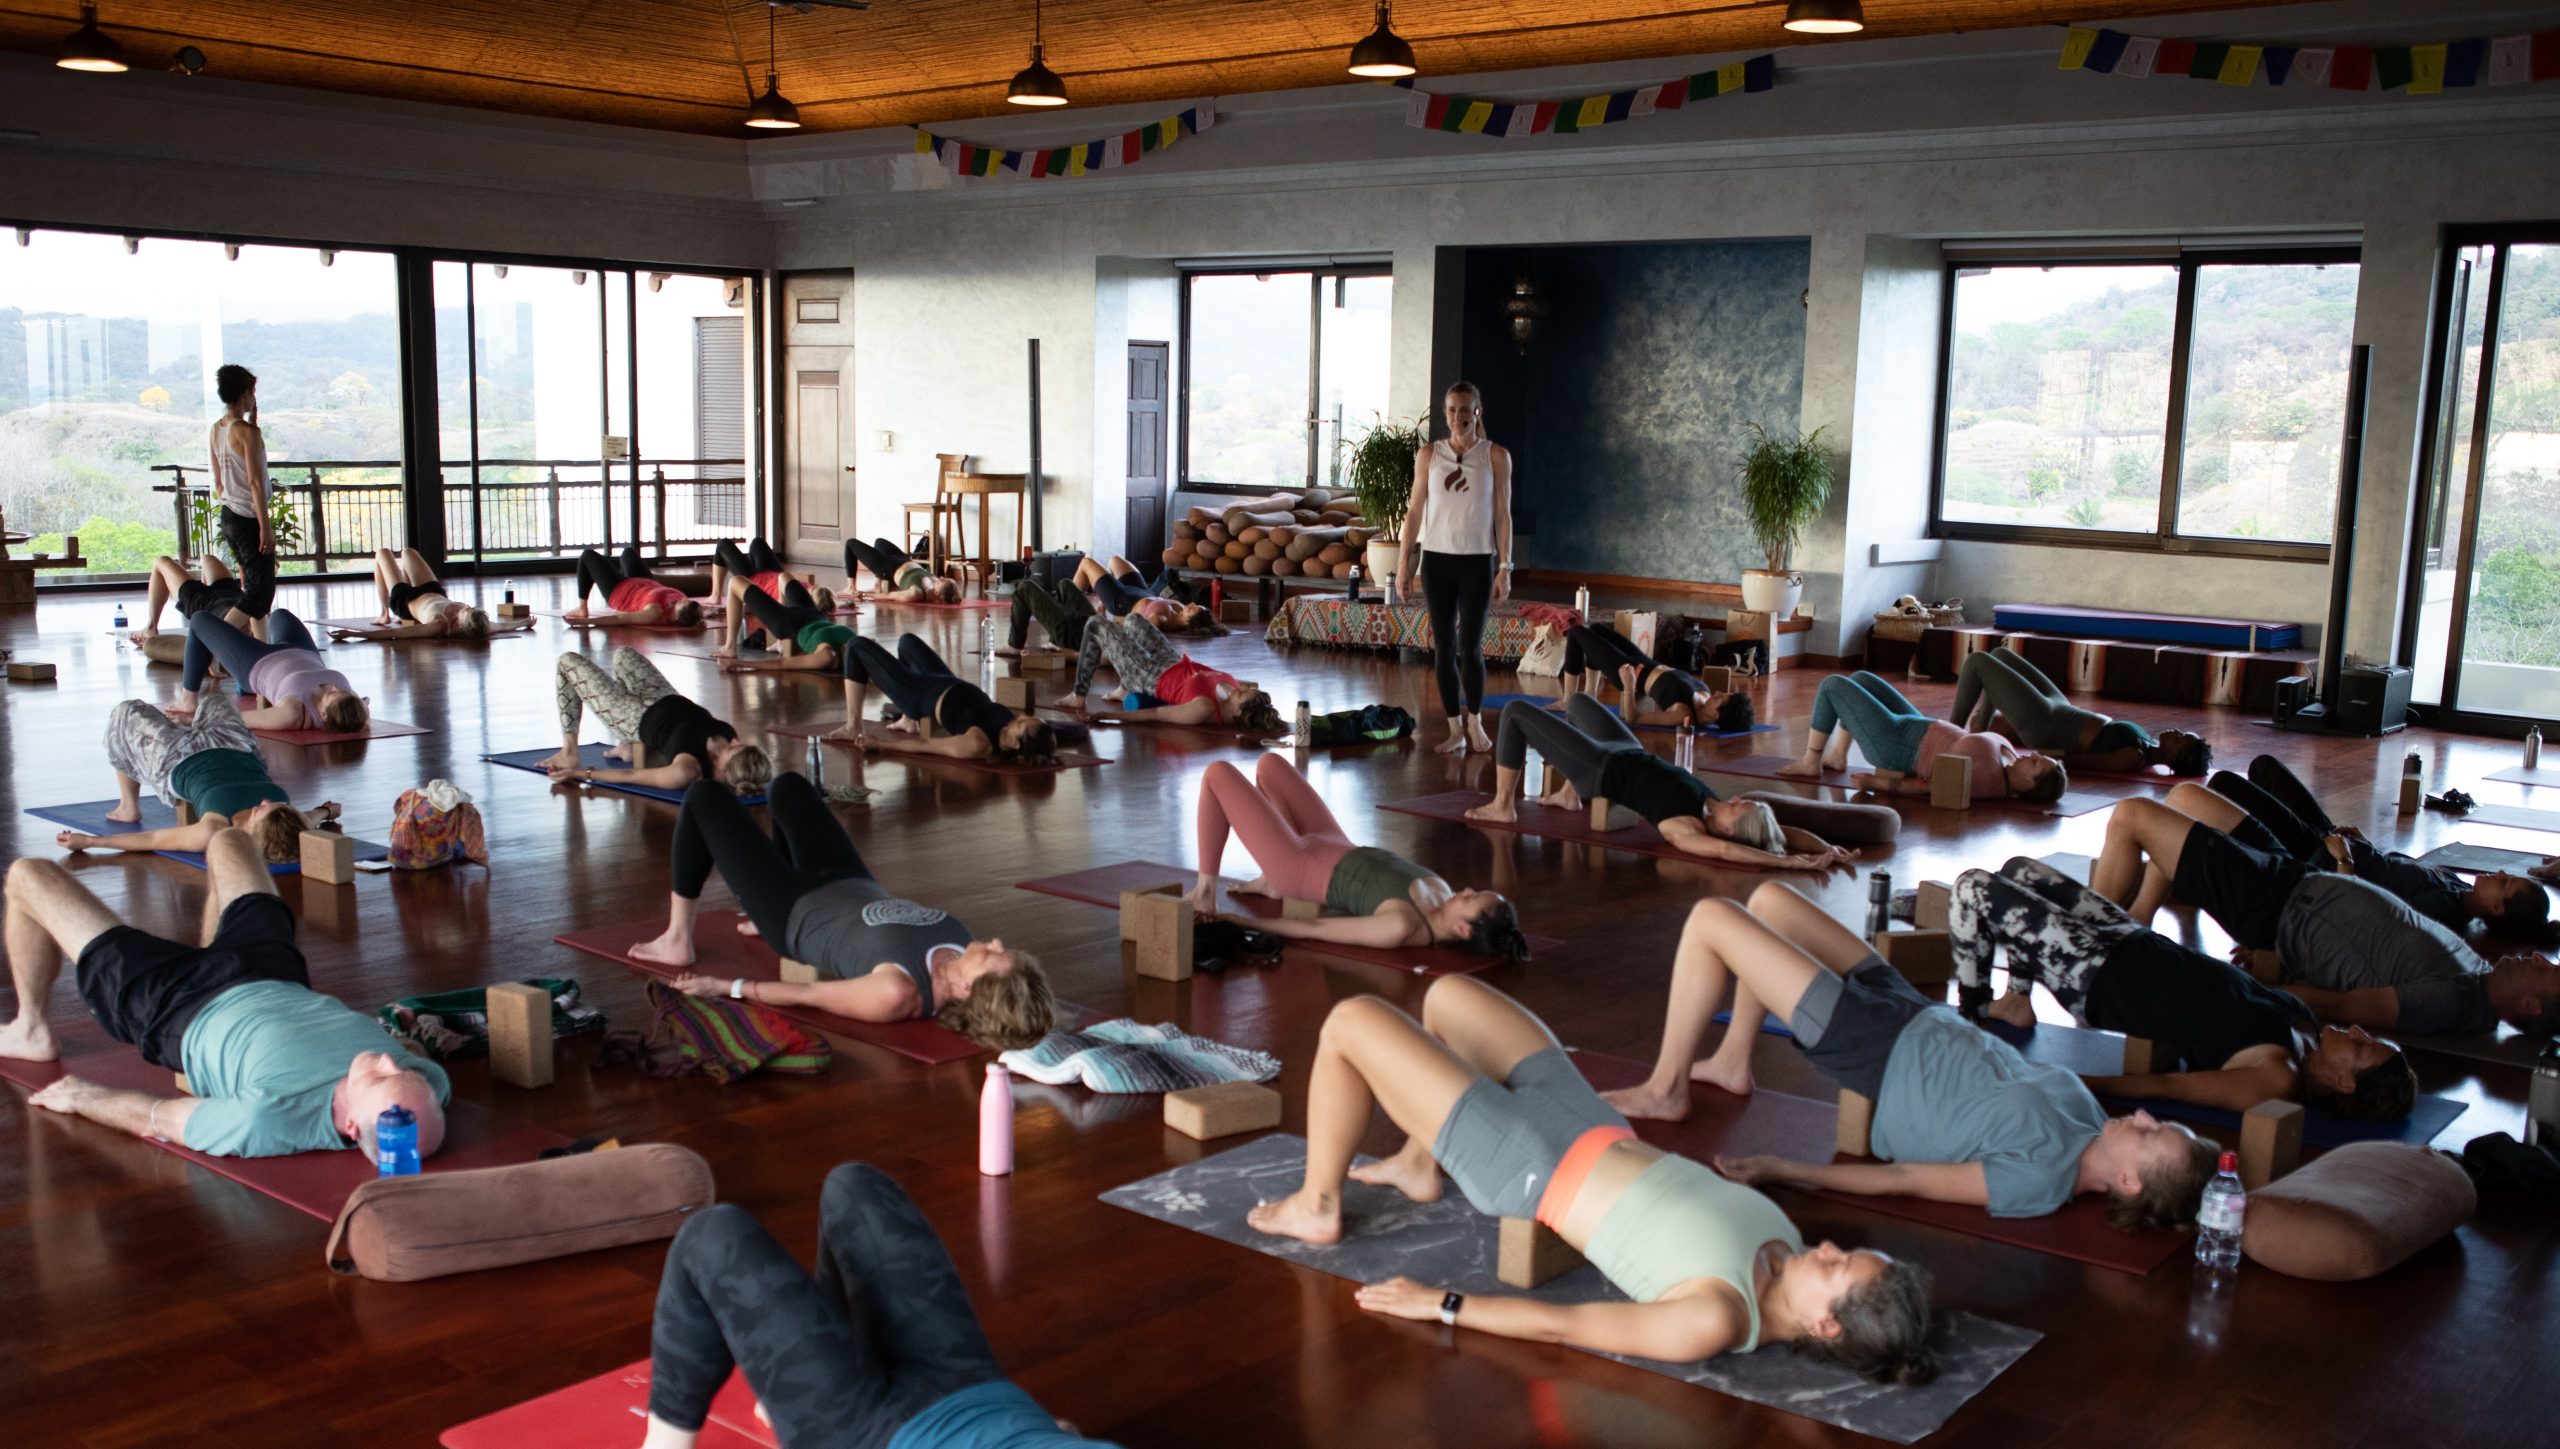
    1. Glute Bridge – as the largest muscle in the body, the glutes play a huge role in core stability, acting as both a mover and a stabilizer.
      •  Lie on your back with your knees bent and feet flat.
      •  Press down through the feet to lift the pelvis up off the floor, elongating in the spine (do not press up too high or the back will arch).
      •  Hold for 2-5 seconds, keeping the pelvis level. Lower down with control.
      •  Do 3 sets of 10-15 repetitions.
    2. Supine March – holding the spine stable while moving the lower extremities is Core Stabilization 101. 
      •  Lie on your back with your knees over the hips and shins parallel to the floor (feet off the ground).
      •  Keeping the knee bent, slowly lower the left leg to tap the toes to the floor. Do not let the back arch up or allow the ribs or pelvis to move. 
      •  Return the left knee over the hip and repeat with the right leg. That is considered 1 repetition.
      •  Do 3 sets of 10 repetitions.
    3. Side Bridge – this exercise targets the deep oblique abdominals as well as the stabilizing muscles of the shoulder and hip.
      •  Lie on your left side with your knees bent to 90-degree angles and your elbow underneath your shoulder.
      •  Lift your bottom hip off the ground, trying to keep your knees, hips, and upper body in one long line.
      •  Hold for 10 seconds. Try to work your way up to a 1-minute hold!
      •  Do 10 holds on each side. As you increase your hold time, decrease your repetitions.
    4. Forearm Plank – this is a 1-stop shop exercise, targeting all the layers of your abdominal wall, as well as the shoulders, upper back, thighs, and glutes.
      •  Start on your hands and knees and then lower the forearms to the ground with the elbows under the shoulders.
      •  Walk one foot back at a time, tucking the toes under and keeping the knees off the floor.
      •  Hold this position without letting the back arch or hips drop, while keeping the neck long and in line with the trunk.
      •  Hold for 10 seconds. Try to work your way up to a 1-minute hold!
      •  Do 3-5 repetitions. As you increase your hold time, decrease your repetitions.
    5. Half Kneeling Chop – another 1-stop shop exercise that combines core stability, balance and hip stability, and shoulder strength all together.
      •  Start on your hands and knees and then lift your hands off the floor coming into tall kneeling.
      •  Step the left foot forward so both knees are bent to 90-degrees. The left foot will be directly under the left knee and the right knee will be directly under the right hip.
      •  Option to hold a light weight in the hands or simply clasp the hands together.
      •  Rotate the torso towards the right leg, bringing the weight towards that hip, keeping the arms extended. This is the start position.
      •  Using your abdominals, rotate the trunk to lift weight diagonally across the body and above the left shoulder, keeping arms extended. 
      •  Reverse to the starting position. This is one repetition.
      •  Do 2-3 sets of 10 repetitions on each side.


    If you’re familiar with the LYT Method, all of these exercises should look familiar to you as we do these and variations of them in each and every class. More Core is not about getting six-pack abs, although that is an added benefit that many find comes with the territory. It’s about creating a readiness in the body to move well and prevent injury. It all starts with core stabilization, so give these a try! 


    Xoxo,

    Kristin

  • 716. Deep Dive: Navigating the Postnatal Period

    716. Deep Dive: Navigating the Postnatal Period


    Join Lara Heimann and Kristin Williams for a deep dive into the postnatal period from a physical therapist and movement perspective! 


    In this episode, they discuss:

    • common changes that occur post-pregnancy
    • challenges and fears that new mothers face regarding their body’s changes and potential issues after giving birth
    • the importance of postural awareness and retraining in addressing core strength and stability, particularly after pregnancy
    • advice on returning to cardio activities such as running or jumping after childbirth
    • the importance of self-care for mothers


    To learn more, and for the complete show notes, visit: lytyoga.com/blog/category/podcasts/


    Do you have a question?


    Sponsors:

  • Pull into Center BUT Open Your Rib Cage First

    Pull into Center BUT Open Your Rib Cage First

    by Ashley Newton, PT, DPT


    The lower ribs are attachment points for our abdominal musculature. We can actually self assess the health of our core by palpating the lower rib cage.


    The ribs articulate in the center of our body at the sternum. The sternum terminates in the cup hood bone. The space below the xyphoid is known as the infrasternal angle. This angle is important when assessing our ability to stabilize the trunk. Ideally, this angle should be 90 degrees. This tells us that our body is not compensating to try to stabilize itself at the level of the trunk. However, more often than not, the angle is greater or less than 90 degrees and believe it or not, this can tell you a lot about your body.


    If the infrasternal angle falls below 90 degrees, it is likely that you use your external oblique musculature a little too much. The external oblique stabilizes our trunk, but can oftentimes become the sole player in this action when in fact it requires the coordination of the two diaphragms and the rest of the abdominal musculature. 


    So why is this an issue? Well, if the external oblique is working overtime without the other abdominal muscles, this can lead to excessive pressure down into the pelvic floor and make one more at risk of pelvic organ prolapse, aesthetically it can create the lower abdominal “pooch”, and negatively affects our posture. 


    So what do I do?! First off, let go of your grip. Let go of your lower belly. More often than not, folks who have this tightness are walking around sucking in their belly. When we walk around, we want to think about our ribs drawing into our back body WHILE we grow tall through the back of the skull. 


    Most folks when told they need to correct their posture, brace their abdomen but this can lead to tightness and restriction in the abdomen and rib cage that can work against them and create different postural issues. 


    Instead, we need to grow tall and work on scapular strength, respiratory strength, and diaphragm length to balance the rib cage over the pelvis. Does the abdomen need to work, absolutely. But I think that you will find that by getting more length in the diaphragm and strength in the scapular musculature, it will require less effort to correct your posture and generate tension in the deepest layer of the abdomen that stabilizes the spine.


    If you have this tightness in your abdomen, give one of the following exercises a try!

    • Diaphragm release: in lying, bring the fingertips under the ribs and follow the ribs down as you scoop the fingers under the rib angle. Use lotion if available. This area should not be tender and should be mobile enough to fit up to your 2nd knuckle underneath the ribs. 
    • ILU massage 
    • Thoracic rotations/open books
    • Uddiyana bandha in lying, seated and standing 
    • Jaw release 
  • 695. Guiding Postpartum Recovery with Mama Made Strong founder, Betsy Petry-Johnson

    695. Guiding Postpartum Recovery with Mama Made Strong founder, Betsy Petry-Johnson


    Betsy Petry-Johnson, the founder of Mama Made Strong, is empowering postpartum mothers to feel good about their bodies after giving birth.

    Months after giving birth to triplets, her belly still wasn’t responding to the postpartum programs she found online. So she worked towards finding her own answers, founding Mama Made Strong to help mothers struggling with the same problems. 

    On this episode of Redefining Movement, Betsy discusses how important it is to understand how unique our bodies are; what works for one person might not work for another. By giving people the tools and education about fitness and wellness, you empower them to find the processes that best serve them, which can often bring better results. 

    In this episode, you will learn the following:

    • You can begin investing in your health no matter what age you are. 
    • Diastasis recti can often be a symptom that there’s something else that’s wrong with your body. 
    • Your belly is an excellent biofeedback tool to let you know how your fitness journey is going.


    Guest Resources: 


    Connect with Lara Heimann, The Redefining Movement Podcast, and LYT Daily:


    Today’s podcast sponsor:

    Almond Cow – Visit almondcow.co/shop and use code LARA for a discount off your purchase!

    Herbal Face Food – Use code Lara20 for 20% off 


    Follow the podcast:

  • Uddiyana Bandha: the secret to core health?

    Uddiyana Bandha: the secret to core health?

    By Ashley Newton, PT, DPT


    So much of yoga as it presents itself online and in our day to day life takes the form of meditation or physical practice. We digest info online in a mere 30 seconds and then move on. Although this helps with the equity and transmission of information, foundational concepts are often lost in translation. So enters one of my favorite practices: uddiyana bandha 


    Bandha literally means ‘lock’ in Sanskrit and refers to how one can direct energy in body while counteracting the downward force of gravity. Uddiyana bandha is also known as the ‘false breath’. In other schools of movement and thought, it is known as an ‘abdominal vacuum’, ‘hypopressive’, or ‘apnea’. This technique can be done in static postures and meditation but can be incorporated into asanas in more advanced practices. 


    To perform the bandha, following an exhale, the practitioner will take a ‘false breath’ or swallow. The rib cage will open, the belly button will lift and the abdomen will hollow. More often than not, this practice is performed incorrectly as folks will try to hollow the belly by engaging their external obliques. However, this strategy winds up pressurizing down into the pelvic floor and energy is ultimately lost – thus counteracting the intention of the bandha itself. 


    So, why is this helpful and how does it impact my core health?


    The Three Diaphragms

    Think about the triple ‘S’ in LYT – skull, scapular, and sacral alignment. We know that this alignment is upright posture. In order to perform uddiyana bandha correctly, the vocal, thoracic, and pelvic diaphragms need to be aligned. If they are not, abnormal tensioning in the trunk will inhibit the upward flow of energy. This will result in other areas of the body being tensioned that can contribute to abnormal movement patterns and strategies. 


    Moreover, uddiyana bandha is a diaphragm stretch. The diaphragm is a dome-shaped muscle and cannot be stretched across a joint because it does not have one! It can only be stretched by a change in pressure. The diaphragm gets tight when the body is demanding it work as a postural muscle. This occurs when the body is unable to manage pressure across the three diaphragms and adapts by loading the diaphragm abnormally to control spinal movement. 


    Fascial mobilization

    Uddiyana bandha creates an upward lift of the abdominal and pelvic fascia, effecting a fascial mobilization unto the tissue. This is helpful if there is tightness and/or scarring in the abdomen. The more the tissues in the abdomen can move, the better able they will be to stabilize the spine and coordinate together to provide structure and stability to the trunk. 


    Are there safety concerns with uddiyana bandha?

    People with the below conditions/statuses should not do the uddiyana bandha:

    • Pregnant and recently postpartum clients
    • Recent abdominal surgery 
    • Hiatal hernia 
    • Uncontrolled blood pressure
    • Cardiovascular issues
    • Respiratory syndromes
  • Core Strengthening Yoga Practices in Physical Therapy for Faster Recovery

    Core Strengthening Yoga Practices in Physical Therapy for Faster Recovery

    by Thalia Wynne, PT, DPT, AT, RYT

    We talk about the CORE STRENGTH A LOT in physical therapy.

    In PT school, clinicians learn all about the anatomy of the core including all the muscles, where they attach, their function, what nerves innervate them, how the muscles work during functional movement, the mechanics of breath, and so on. 

    So as you can see, the training is deep. And yet, it wasn’t until after I did my LYT Method teacher training that I finally felt confident teaching core strength exercises to my patients. 

    Through the practice of yoga, I finally understood how powerful appropriate cueing can be and that it takes more than just 3×10 of a deadbug exercise to create a fully integrated core. 

    So what’s the secret? How do yogis look so graceful when they move? So much so that you can tell who’s a yogi just by the way they walk. What is it about a yoga practice that can train the core so well? And how can you use some of the asanas (poses) in physical therapy to gain similar benefits? And whether you are an athlete needing an active recovery tool to reset after hard games and practices or a busy business woman needing help to recover faster from an injury to get back to the meaningful work you put out into the world, why is yoga important to help you recover faster? 


    Yoga core strength translates into more graceful movement off the mat, reducing risk of injury in the first place. 


    It’s simple. The practiced yogi has great body awareness and postural habits. With LYT in particular, the focus is on proprioceptive awareness to optimize posture within typical daily movement patterns and works to flow through a variety of movements so that every joint ROM becomes normalized and stabilized. Off the mat, what this translates to is a look of standing tall and floating across the floor because of how light the body can move when it’s been trained to move optimally. And with optimal movement, you decrease the strain on your body and require less energy to move. Not to mention, your body becomes more adaptable. Meaning, you’ve got the body coordination, strength, and mobility to quickly get up and go when duty calls, or juke your opponent on the court. 


    There are unique training principles to yoga that you don’t always find in traditional PT exercises. 


    #1: Syncing breath to movement


    This is simple but effective. By breathing with movement, you train the body how to manage internal pressure which is important when we talk about recovery. Managing your internal pressure system well means that muscles will know when to contract and when to relax and you’ll avoid overactive hypertonic states that can inhibit muscle recovery. Syncing breath to movement also calms the mind. The parasympathetic nervous system ramps up and you increase relaxation – even when you might be working hard in a class you can still maintain a feeling of calm in the body. The easier you can navigate through challenges via breath control – the faster you will be able to recover from the intensity of the movement. Lastly, we literally require breath to live yet many people “forget” how to breathe. Their breath is shallow, lung capacity is low, and cells are under-oxygenated. People who regularly practice yoga have better lung capacity1. This means more oxygen to your cells which translates into more energy to tackle the day. Yoga is even being studied as a treatment alternative for populations that typically struggle with other exercise types such as people with asthma.2 To breathe is to prosper. Remember, breath is life. If you are breathing, you are living. And that is enough. 


    #2: Consistent internal & intentional core cueing with functional movement 


    In yoga asana, the yoga instructor is typically talking to you almost the entire class time. They are creating a checklist of how to think about movement in a highly core-centric way. Yogis know that core integrity is the foundation for any pose especially when getting into advanced movements like handstands and forearm balances. The internal cueing of squeeze here, lengthen here, breathe here builds your propioceptive awareness and it starts to become automatic just like anything you perform over and over again. Now a squat becomes a core move. And so does a lunge, tree pose, warrior two. Every move is thought of and trained through the perspective of how the student is controlling the trunk to hold the pose. The same idea can be adapted into physical therapy principles. Cue core first, and the rest will usually follow. 


    Now, most will tell you that internal cueing doesn’t translate into sport because an athlete’s focus is not on their body when participating in competition and it requires use of different parts of the brain, so we shouldn’t overly focus on internal cueing. That’s true. I would also say that if every athlete had better body intelligence (in this case core engagement so practiced and perfected it just happens automatically with movement) then we would see less injury. Somebody research that and let me know if my hypothesis is correct!


    I think that a yoga practice added as a recovery tool for athletes would enhance body awareness, improve overall mobility and stability, and take them out of habitual movement patterns that can lead to overuse injuries from overtraining and overdeveloping certain body regions. Think of the right-handed pitcher who gets really good at twisting left but develops tightness in his trunk and hips the opposite direction. Imbalances increase injury risk. Core strength training, particularly the yoga way, reduces imbalances. Now the athlete has the foundation to apply to the other training tools that will get her stronger, faster, and more skilled in her sport. 


    The point is – your core is the grand central station of movement. Its function impacts how you absorb and produce force with movement. Therefore, we must consider how to hold core support with functional movement to improve the way we move, and therefore speed up recovery. When the core is functioning optimally, it takes less energy to do what we want to do, and we decrease stress on the rest of our body creating an environment that promotes healing and recovery. 


    References


    1. Vedala SR, Mane AB, Paul CN. Pulmonary functions in yogic and sedentary population. Int J Yoga. 2014;7(2):155-159. doi:10.4103/0973-6131.133904
    2. Yadav P, Jain PK, Sharma BS, Sharma M. Yoga Therapy as an Adjuvant in Management of Asthma. Indian J Pediatr. 2021 Nov;88(11):1127-1134. doi: 10.1007/s12098-021-03675-y. Epub 2021 Feb 24. PMID: 33625666.
  • 688. Wednesday Q&A: Different Leg Lengths, Diastasis Recti, & the Pelvic Floor

    688. Wednesday Q&A: Different Leg Lengths, Diastasis Recti, & the Pelvic Floor

    In this Wednesday Q&A, we answer your questions about practicing yoga with different leg lengths, diastasis recti, and relaxing the pelvic floor.


    • I got a really good question from a new student. She has different leg lengths that in daily life is adjusted by different thickness of the soles of her shoes. However, she’s questioning how to take this into account and how and where to adjust when doing yoga. What would you advise in this case? 
    • I’m 38 years old and currently 18 months postpartum after baby number two, I’m dealing with diastasis recti. I probably always had it a bit, but worsened it a lot after baby number one when I started my normal yoga practice about four weeks postpartum. My midwife realized the separation got bigger after a checkup, about four months postpartum by then. After that, I continued my yoga practice as normal, but did some physiotherapy. My belly wasn’t as flat as before pregnancy, but that’s okay after a baby and I had no other problems. After baby number two, I was very aware of the D.R. issue and tried to do everything right. No normal yoga – any kind of backbend, chaturanga, one-legged, and so on. But the separation was five fingers and only went down to about three fingers, max. I tried, as I mentioned, to avoid many kinds of movement which is very hard for someone who loves to move. Is there something that can be done? Can I reverse this? 
    • I feel like I’m strong in my pelvic floor. I don’t leak. I can do all kinds of exercises. But I see all over Instagram and social media this call to relax, relax, relax your pelvic floor and now I feel confused.


    To learn more, and for the complete show notes, visit: lytyoga.com/blog/category/podcasts/


    Do you have a question?


    Sponsor:

    Visit relationshipschool.com/lara to get 50% off your first month of relationship coaching.


    Follow the podcast:

  • The Problem With the Term “Core”

    The Problem With the Term “Core”

    The Problem With the Term “Core”

    by Ashley Newton, PT, DPT


    I hear it from clients, in the gym, in the coffee shop: “I just want to strengthen my core”. As of late, my PT brain has gotten so tired of this term.


    Reason why: most folks have an idea of what the core is but it’s devolved over time. We saw the same thing happen to Kegels which have now been villainized on social media: it’s a game of telephone where the original message of what the core is has just become a vague idea of what we need to work on to stay fit and healthy. So I am spilling the tea, maybe throwing out a controversial opinion. But hey, I am a pelvic physical therapist, it’s in my character to be a disrupter and questioner in the movement for social justice. So let’s get into it.


    When we hear “core”, our mind goes to flat stomachs, six-pack abs, and being able to hold a plank for longer than is comfortable. But the core is so so SO much more than that. The core is everything but our limbs. It is the rotator cuff musculature, the deep muscles of the head and the neck that stabilize our skull, the pelvic floor, respiratory muscles, and the deep abdominal and low back muscles. That’s a lot of stuff packed into this term “the core”. It can be overwhelming to think about all these muscles and how we can optimize their function. But truly, it all comes back to a well-balanced exercise practice. 


    In the realm of yoga, I see it all the time, folks will hold that chaturanga, desperate to hold it for as long as possible to get a “strong core”. But meanwhile, their lower neck is extending and their hips are dropping. Their abdominals and traps are trying to hold on for dear life because the muscles of the trunk can’t exert enough force to stabilize us. The result: we get more prone to neck pain, abdominal separation, and low back pain. 


    So what do you do?? Be on the lookout for compensations in your practice and tune into your body. Do you feel the muscles under your underarms working to support you? Are you gripping your jaw and holding your breath? This is the mindfulness part of yoga – connecting to the body and breath so as to be aware of your body’s movements and where it may need more support. So from me to you, give yourself a break and stop obsessing over a “strong core”. You are strong, and frankly bad***. Make sure you aren’t neglecting parts of your body because they are hard to work on. It’s those things that are going to build your body’s resilience and keep your trunk stable and strong.