Category: Podcasts

  • 133 | Getting better breath experience

    133 | Getting better breath experience

    Breath is a big part of any kind of movement practice. And I also think it’s the one that’s not often taught in a functional way. Having a deeper experience with your breath will increase your oxygen intake. You’re going to have more energy, you’re going to calm your nervous system and you’re connecting to your core. 


    Awareness is important. If you bring more awareness to your breath, you will get a bigger breath. 


    But for breath that gets you more oxygen and actually has a physiological impact, we need to also look at the mechanics of breath. One of my biggest missions is to get people to stand taller and have better posture because suboptimal posture impacts your breath a lot. This isn’t rocket science. If you have an aluminum can and you crush it a little bit, it changes the capacity of the liquid that can get inside the can. And that’s what your crumpled posture does. It changes the volume of your breath and the amount of oxygen you can bring in, which ultimately affects the efficiency of your breath.


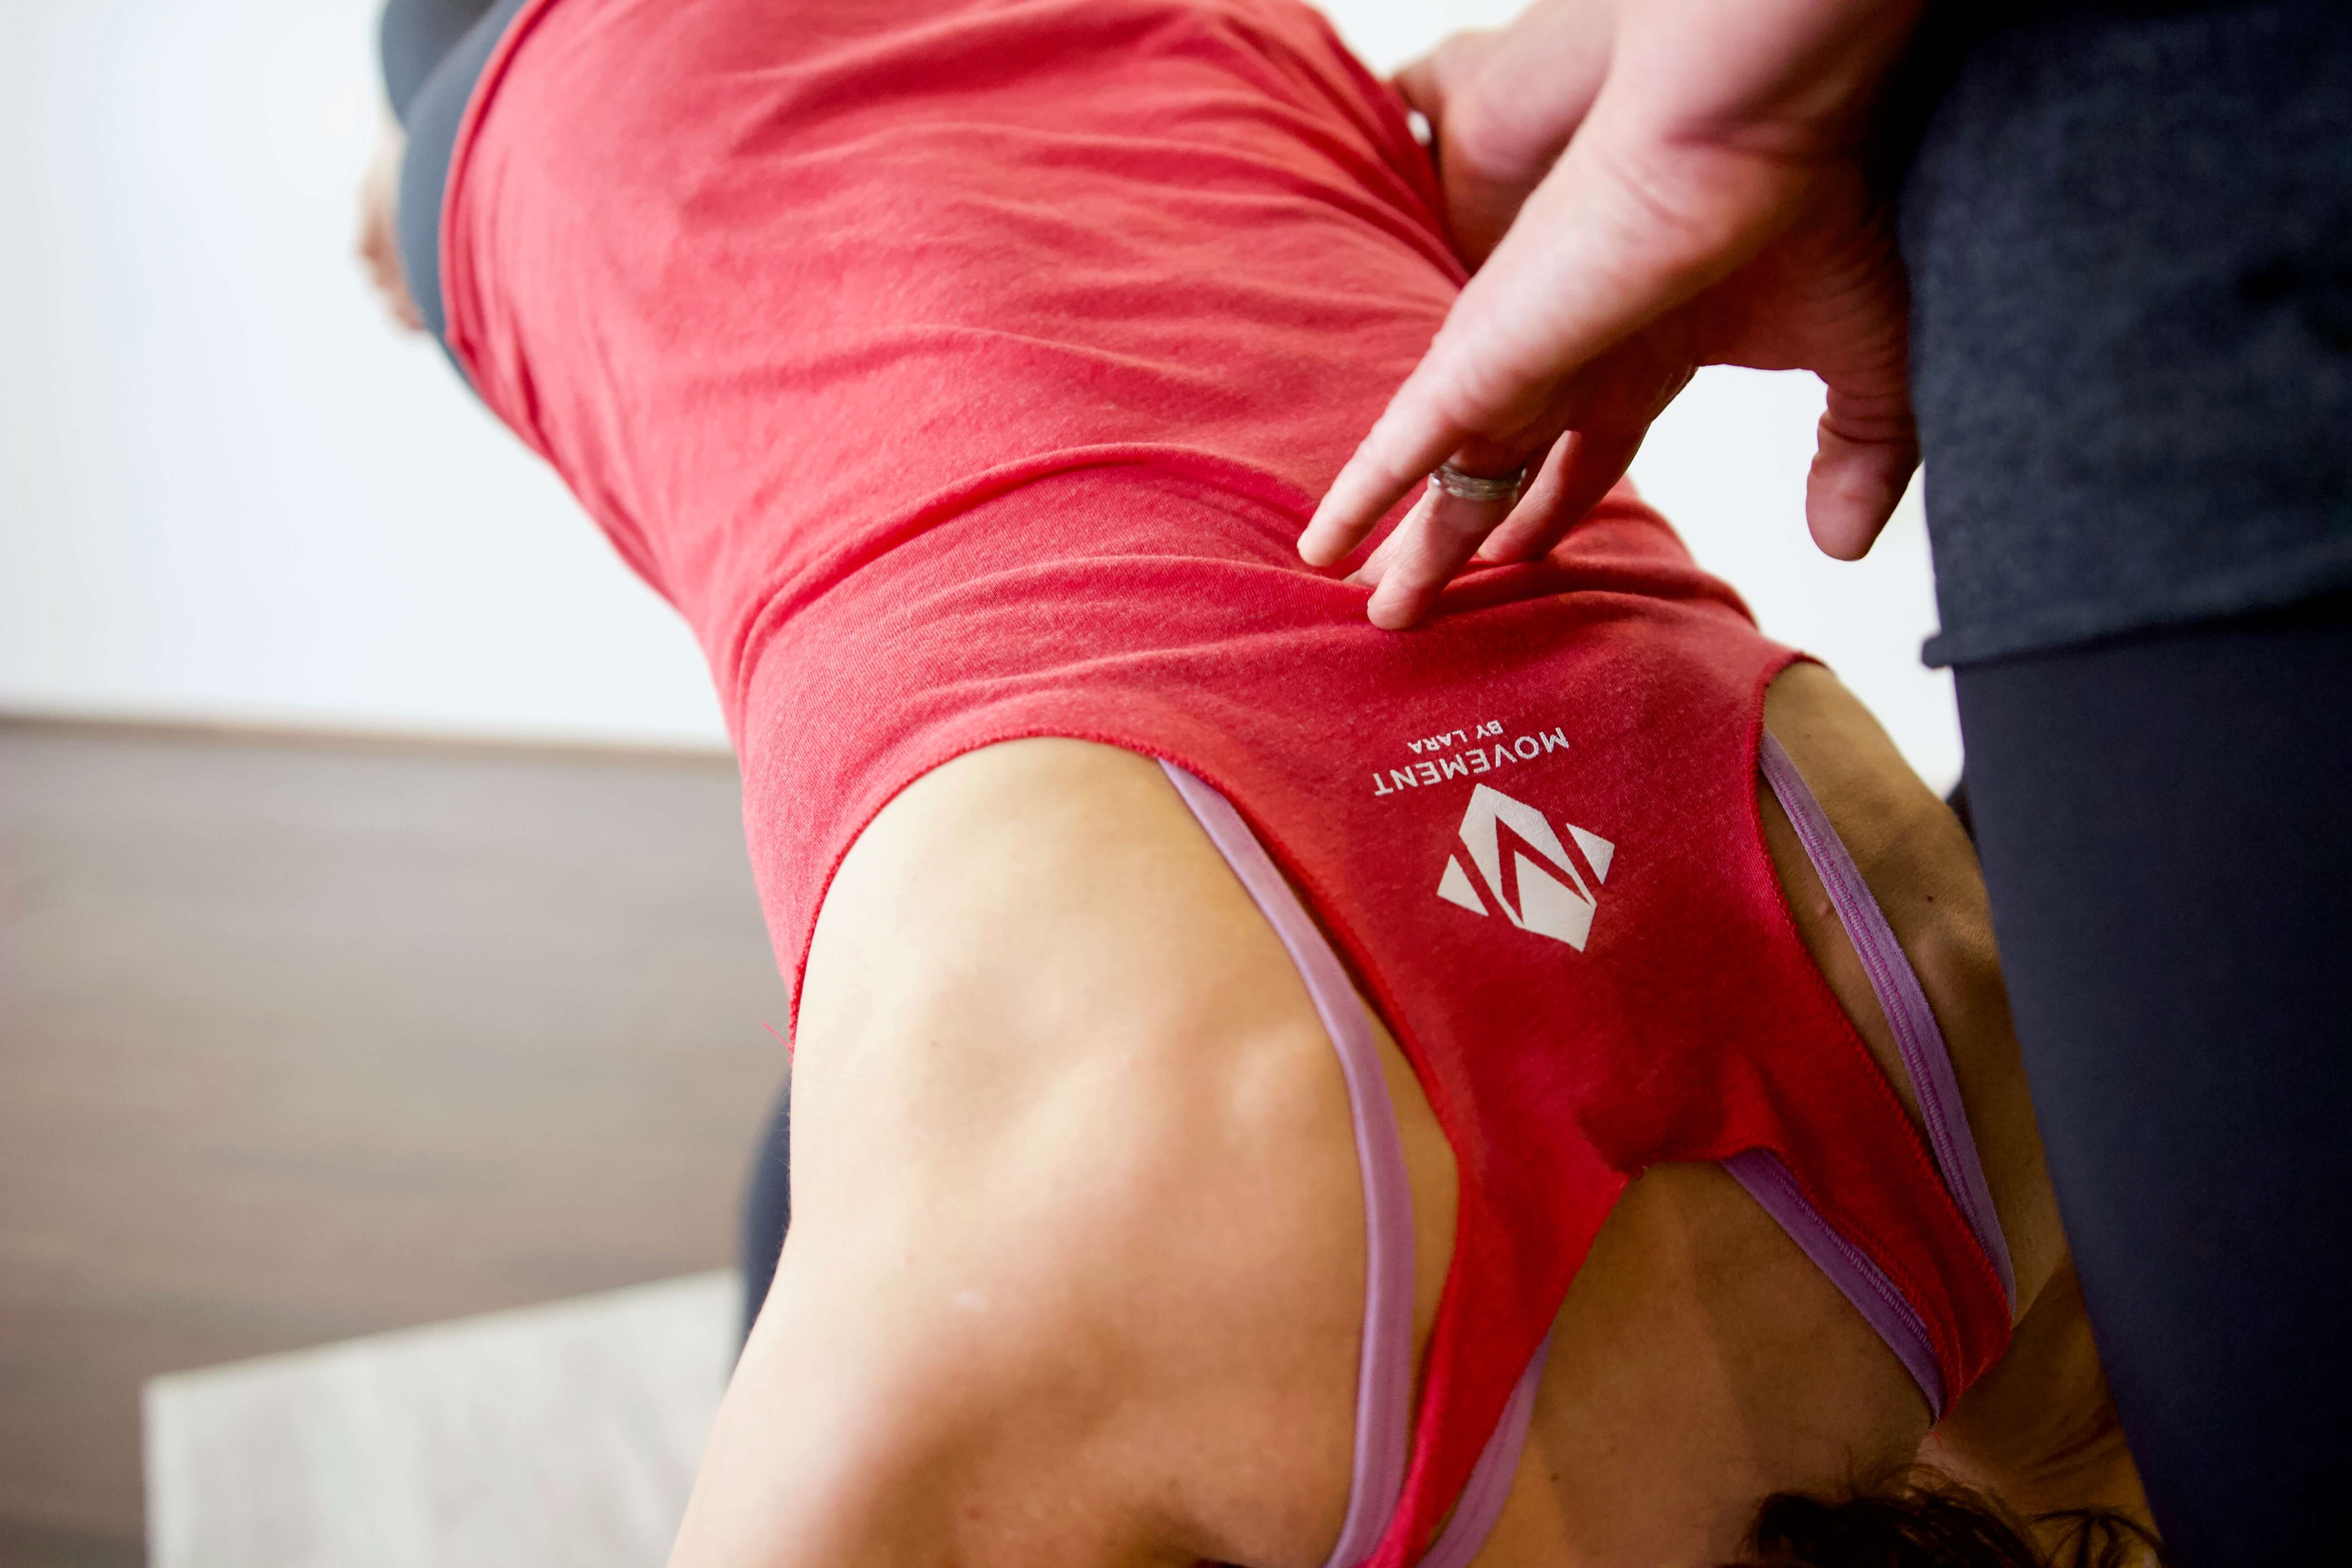
    This exercise is to help you get upright and get everything more aligned. Put your second and third finger between two of your ribs and take a breath in. You should feel space and movement there. If you round your back, you’ll find that space starts to close off. Draw your tailbone down, not under, but lengthening your lower back. And then open your mouth and empty out your breath. Take another breath in and feel the breath go to your fingers. Also notice where your fingers are in that space when the breath went in. Did they go straight up into it? Or did you feel that there was a little bit of a side movement as well? Because ultimately with breath, we want it to lift up, but it also needs to go outwards. And that is the part a lot of people are missing. Because they’re either stuck in their belly or they’re stuck up in their chest. I want people to focus their breath on that inner space at the rib cage. Use your hands to get feedback. 


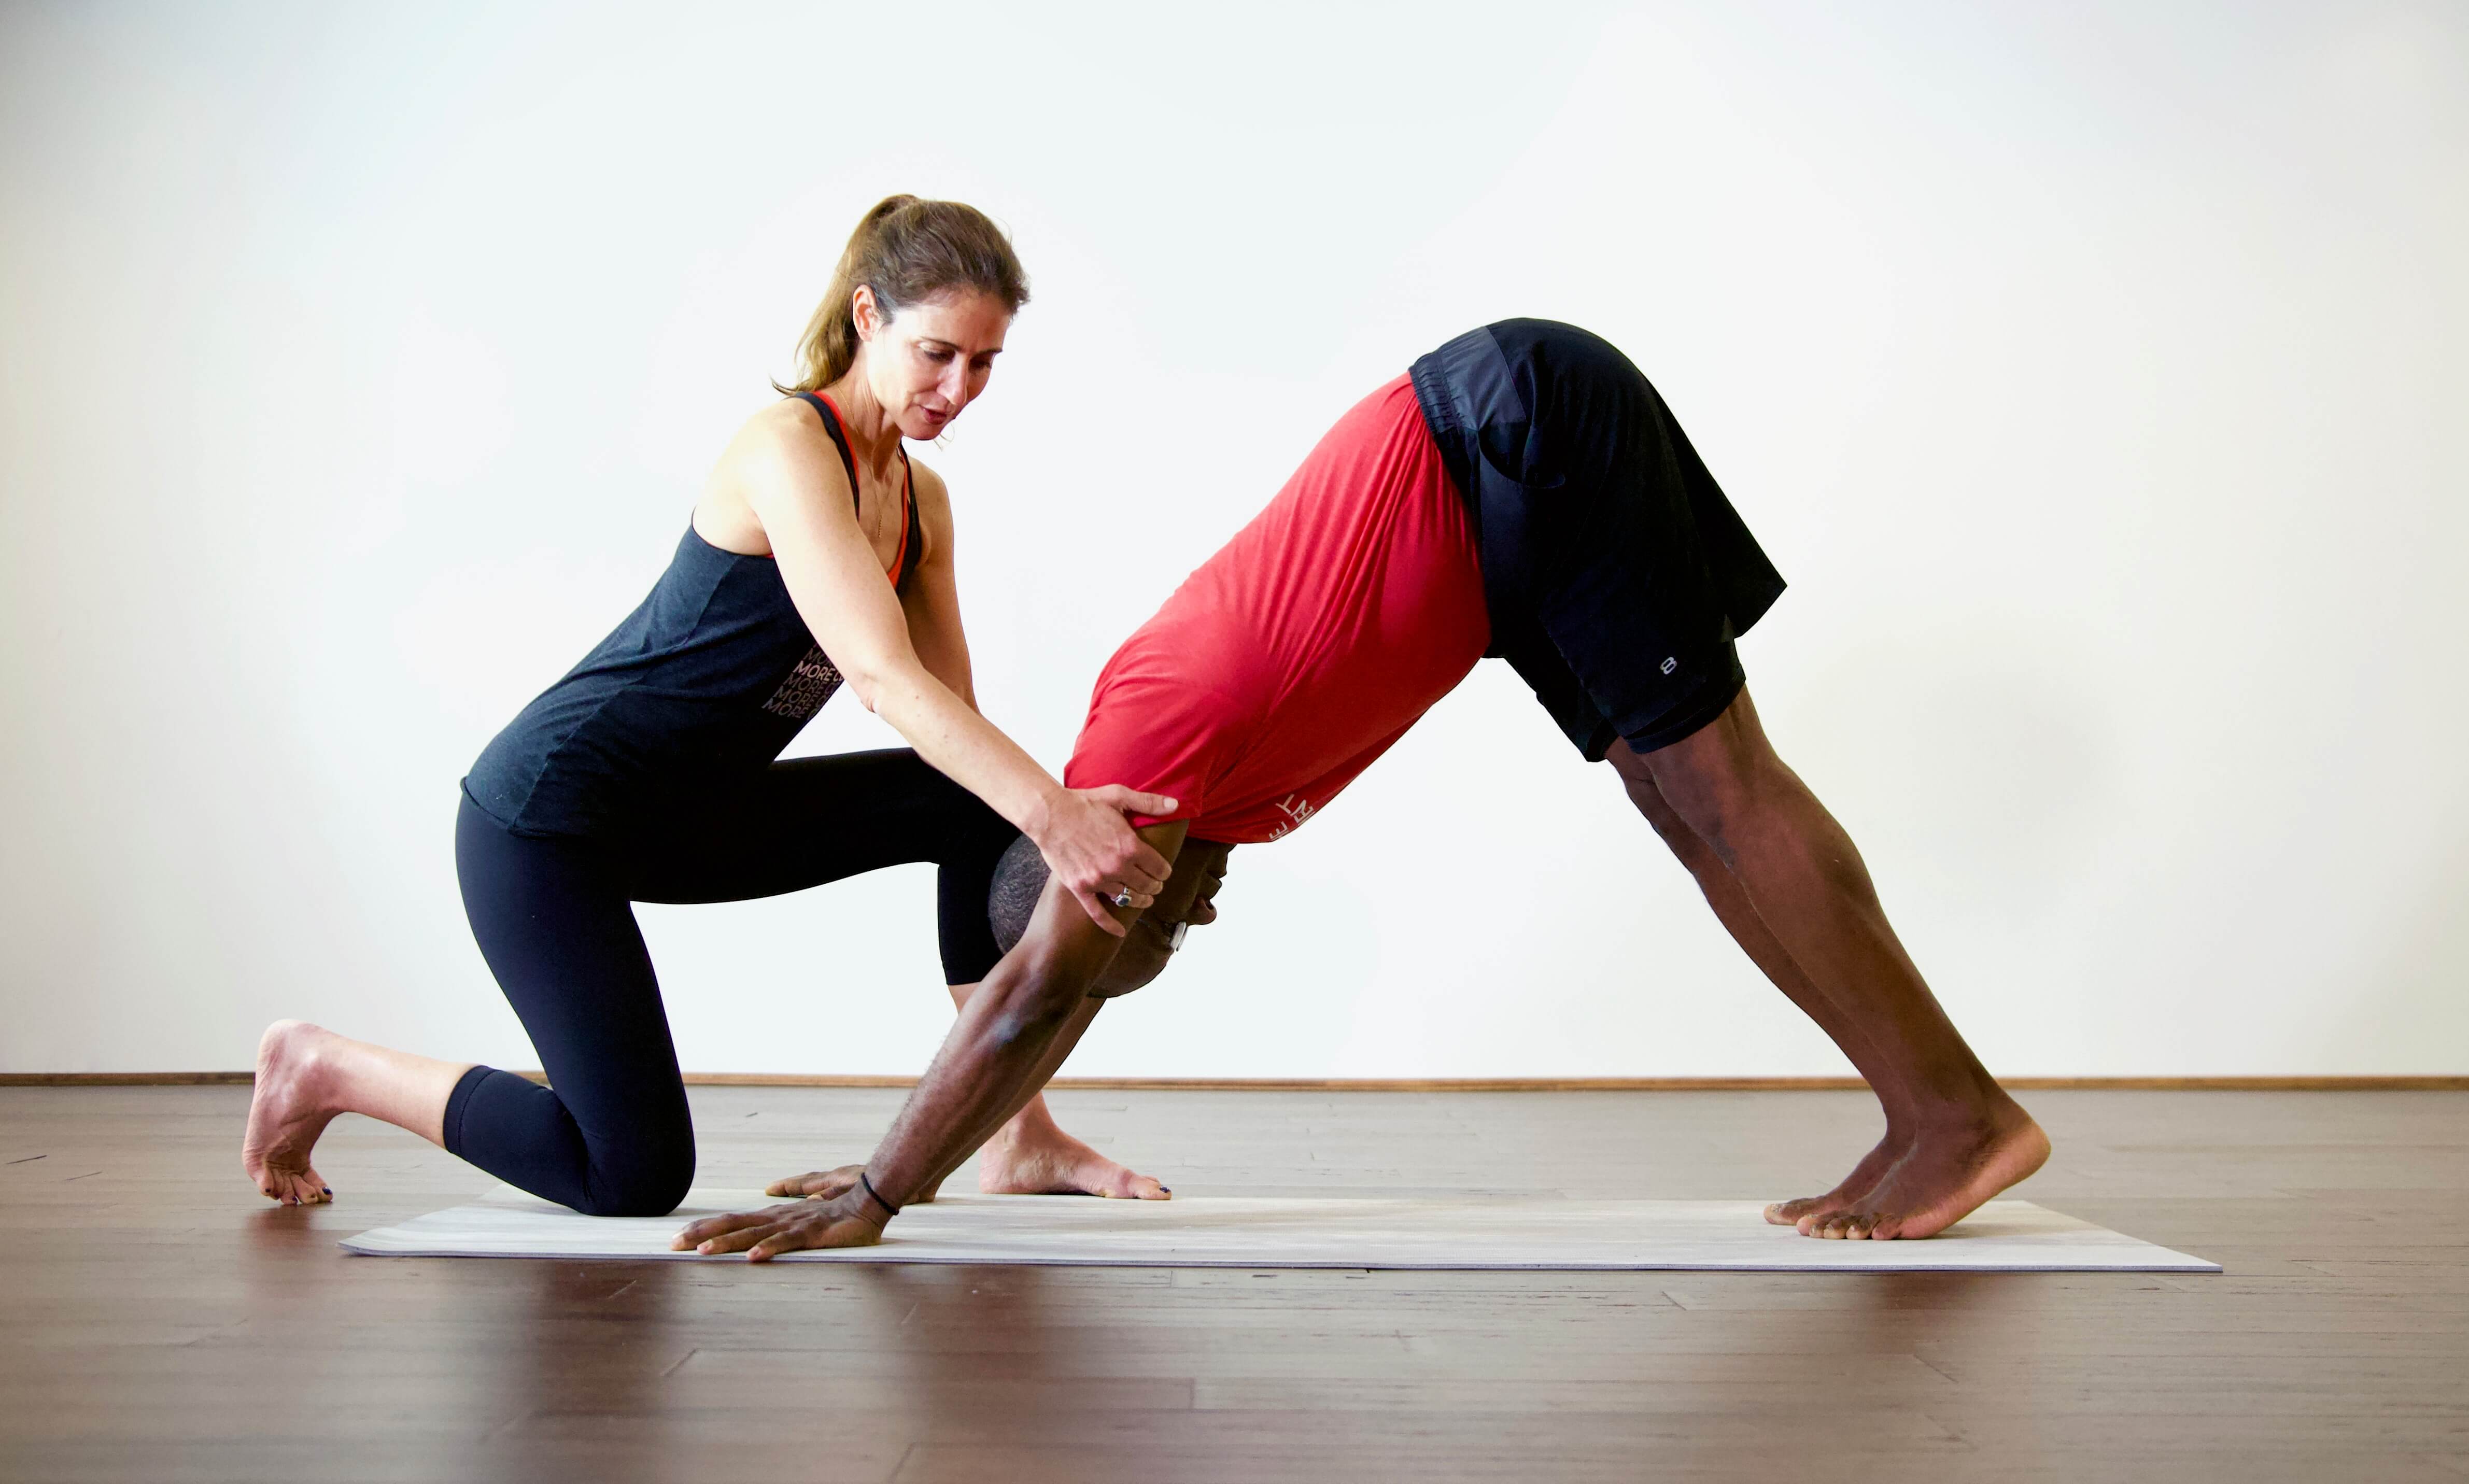
    Working your core muscles will also give you a deeper experience with your breath. Reset the pelvis because your pelvis needs to be neutral to have the best breath. If you’re tilted in any way, it’s going to shorten the rib cage, it’s going to change the way the ribs are or it might jut the ribs forward. They’re not going to be able to expand in the same way. Then get your abdominals firing. Take a breath in and exhale out completely, really exhale out completely and then go to this place where you draw the front body into the back body. Then take a breath and put your hands on your ribs and lift the breath up into your ribs. Feel the breath move into the hands, then take your hands and lift your ribs up a little bit. Lift them up so they’re coming away from the pelvis. And then, on your exhale, you’re going to bring the ribs together. Tighten the intercostals so you’re draw-stringing them together like you’re closing a curtain in front and you’re tightening the obliques as well. Imagine these diagonal lines coming into the midline. And if you’re lying on the ground, come up off the shoulder blades and do that on the exhale. And feel all of that pulling into the midline, closing off to help the breath move. And then as you inhale, lift that breath up, feel the expansion of the ribs, feel the space between, the intercostal space, grow and feel it lifting up toward the armpits. And then exhale and pull it together and consciously tighten your abdominals like you’re trying to siphon out every little bit of breath. And that’s going to come from the transverse abdominals, the obliques, all pulling in and pushing that air out. So you can do this in sitting or standing. And if you’re lying down, you can add the leverage of more weight by lifting your head up off the floor and by lifting your shoulder blades off the floor.

    Give those exercises a try. If you have any questions, please write me at lara@movementbylara.com. Please share this episode with a friend who has any kind of breathing issues.


    Resources:

  • 132 | How to build shoulder strength

    132 | How to build shoulder strength

    Building shoulder strength is really about building a robustness to the shoulder so that it can be adaptable both in terms of mobility and stability. 


    One of the best ways to do this is to first get the shoulder moving fully. Anytime we talk about shoulder mobility, we have to first address the scapula and back. You need to start with a good resting position of the scapula on the back body. It’s about an inch away from the spine, in a neutral resting position. And it’s not elevated, meaning it’s not way up by your ears. And from that position, it does need to be able to upwardly rotate. What is required with upwardly rotating is that if you’re reaching your arm forward, like you’re reaching out for the wall in front of you, there’s little scapula movement until 90 degrees. 


    And then beyond that, the scapula needs to be able to lift up towards your head, which is elevation slide away from the spine, which is protraction. And also tip and be held onto the spine, which is a little downward rotation. And so all of that needs to happen to get the arm up in line with your ear. So once that is happening without any impingement, or any compression or just a smoothness to it, you can work on the strength of it. 

    One of the best ways to acquire shoulder strength is through weight bearing, putting weight through your hands. So here’s a simple series to do. 


    Cat cow

    First of all, roll your shoulders one at a time and go backwards because we spend so much time with our shoulders in front. Really feel the scapula move up toward the head, and then in toward the spine and then down a little bit.


    Then reach forward with one or both arms until you get to 90 degrees. And then reach the arms forward more, with the movement coming from the scapula, and then lift them up in line with your ear. And if you feel like you’ve got a pretty good range there, then do that a few more times. 


    Come on to all fours and bring your shoulders right on top of your wrist and then get your neck in line so it’s not drooping. And then do a similar action here. But it’ll be smaller, because now you’ve got your hands grounded so you’re not going to move as much. But try and move the scapula together a little bit and then apart from each other. 


    In the yoga world this is known as cat cow. But you’re doing it just in the scapula and the thoracic spine. So the elbows won’t bend, your lower back is not getting involved, you’re just mobilizing the scapula on the back. Try doing that for about a minute. 


    Plank

    Once you’ve done it for about a minute, draw the shoulder blades together a little bit, hold the front ribs there and just feel like you’re stapling the scapula on the back ribs. And then step one foot back at a time so you’re in plank. 


    Plank is one of the best moves for your shoulder. If you’re doing it correctly, you’re not putting any compression on the shoulder, you’re trying to find space there. Continue holding yourself in plank, feeling the shoulder get stronger and also using all the core muscles to help that. Then to add on to that, you can move in different ways while still in plank. So you could step out one foot at a time, so step your left foot out to the left and then the right foot out to the right and the left foot in and the right foot in. These movement patterns will make your core and your shoulders light up. And if you find that your wrists are bothering you, you can stretch out the wrist as well.


    Reverse table

    A reverse type table is also good for the shoulders. So sit on your butt, bend your knees with your hands behind you and your fingers facing the same direction as your toes. Lift your hips up, but don’t throw your head back. So you’re using your glutes, but then feel the head of the arm bones stay centered, don’t let them drop forward. And then really tighten the muscles around the head of the arm bone and the scapula and hold there. Now you can always add some challenge to this by bending the elbows a little bit and straightening so you’re working on the triceps, which are really important for giving the shoulder stability. 


    Forearm plank

    Another way of strengthening the arms is to get onto your forearms. So come on to all fours again, with the knees down, and then bring your forearms to the ground. Interlace the fingers. The elbows are going to be more narrow than you would think, not straight under the shoulders but a little bit closer together. Then walk back so you’re in a forearm plank. Then push into your forearms and broaden the back body, which is now going to have the shoulder blades sliding a little apart from each other, and hold that feeling. The butt is in line so it’s a true plank. Hold there. And you can do the same thing you did in plank, walk out one foot at a time. Keep your head in line so you’re not dropping your head down either. Now you might only be able to do that for a few seconds. And that’s okay. If you can stay with it an extra two to five seconds after you feel like you need to come down, that’s how you’ll build some strength. 


    I hope these exercises felt good for you. There’s so many other ways to develop shoulder strength, but these are the exercises I would give right away. Let me know how it feels for you. Pass this on to someone who might need some shoulder strengthening. These exercises will be good for pretty much anyone even if they’ve had some kind of tendinitis or some kind of injury or repetitive syndrome in the shoulders.


    Resources:

  • 131 | Yoga after giving birth

    This episode is about how soon to practice yoga after giving birth, what to start with and how to teach someone who has just given birth.


    First of all, it’s different for everyone. I start by asking what kind of birth and pregnancy the mama had and how active they were during pregnancy. If you had a C-section, you can’t really start much for six to eight weeks, because your incision is healing. You might be able to walk and things like that, but picking up heavy items, certainly doing any core work, will not even be allowed until the surgical healing time has passed. But if you had a vaginal birth, and you don’t have any restrictions, how soon can you start practicing yoga again and things like that? I would say that you have to listen to your body.


    The first thing to do is look down and start reconnecting to your abdominals. Even if you see the postnatal belly, even if it looks like you’re still a couple of months pregnant, start looking there. And don’t shame yourself for any belly that’s still there. But what you can do is start to reconnect to your abdominals. That connection is going to make you feel a lot stronger and more engaged.


    Put your hand on your abdominals and try and hold them in a bit. And then maybe lift the head up a little. Those gentle activities will add a little demand to that area. And if your belly quivers while doing that, know that the quivering is not weakness, it’s awakening. It’s quivering because it hasn’t had that demand put on it recently. But it’s awakening to the demand now.


    Then start gently placing more demand as allowed. You can bring your hands behind your head. And, on an exhale, lift your hands a little bit off your head. Look down at your abdominals. Maybe they’re quivering, but you can move one hand there and help them out. 


    Standing against the wall is also great for new moms. Put the shoulder blades, the skull, the sacrum and part of your butt flush against the wall and then pull the belly in toward the wall and see if you can hold it there for 5-10 seconds. You might have to hold your breath as you’re doing it. Don’t turn blue in the face, but just use all of those muscles, because what you’re trying to actually do is use all the muscles to help your abdominal wall, and some of those muscles also help you breathe. 


    Then on the floor, you can do the same thing with your back on the floor. Instead of just lifting your hands or lifting your head, you can also try lifting one knee. Bring one knee above your hip and hold. We’re not in a bridge here, but you’re just starting to move the limbs and hold the core together. Practice holding that region together as you start walking, particularly if you’re carrying your baby.


    And then when you feel like you’re doing all of that, then you can start adding bigger movement patterns. So getting back into a yoga practice is going to be slow. You want to pay attention to your core area, and include the pelvic floor in that area, the area between your pubic bone and anus and between your two sit bones. Imagine drawing all of those points of contact together and giving that some firmness because the pelvic floor has probably been stretched.


    The other thing that you want to think about when you’re starting to move is that you will have hormones left over from birth and, if you’re nursing, you’ll have extra hormones from that. So all of your ligaments are affected by hormones. It’s much better for you to draw into your strength and hold things for a little bit, like going into a plank, instead of big movement patterns where you’re mobilizing the hips and moving with it. So just know those bigger transitions that we do in yoga, you will need your core even more because of the hormones that are present. 


    When you are feeling stronger in your abdominals, start working with bridge pose because working the glutes is part of the core as well. Have your back on the floor with the knees bent and the feet on the floor. Lift up, not too high, just until you really feel those glutes turn on. Feel the webbing of the abdominals pulling together and down and try and hold that. 


    Be easy on yourself, you’ve housed a baby and you’re coming back to yourself and reconnecting. Remember, you have just done something so amazing. But don’t ignore your body either. There’s a lot of women who just put it all into the baby and just ignore that their body needs to be rehabilitated. So do not hesitate to take care of yourself because it gets a little bit harder as the time goes on. If you’re just about to have a baby or you’re thinking about it or in the recovery, the sooner you can get re-connecting to your abdominals, the better. 


    Resources:

  • 130 | What’s the deal with the red shirts?

    130 | What’s the deal with the red shirts?

    The color red is a key part of my logo and branding. This represents the first chakra, the root chakra. This episode is all about the root chakra, why it’s so important and how we can strengthen it. 


    Chakras are energy channels that run along the spine and they correspond to bundles of nerve ganglia and are known as the energetic part of the body. We sometimes don’t trust what we don’t see, but we do know from our life experiences when we feel really clear, or when we feel really unclear or unsafe, and a lot of that is spoken to us through our energy.


    The root chakra is located at the base of your spine, right where the tailbone is. And the deepest connection we have with our physical body, with the earth, the environment, is through this area. Energy from the earth comes up through the legs, and goes into the base of the spine. 


    The root chakra is also the most instinctive of chakras. Our fight or flight responses are initiated from this energetic station. It’s where we adapt and adopt some of the energies from our past and even our ancestry. It is what grounds us and what balances us and if the root chakra is not strong, it really does have an effect on the rest of the energetic body. 


    To strengthen your root chakra, firstly pick out something red (it could be a red shirt or a red painting or picture – I’m actually recording this with red microphones) as a reminder of your power, your grounded stability, who you are and who you want to be and what you’re capable of.


    Secondly, check in with how you are sitting or standing. Can you find that neutral pelvis? 


    Thirdly, get on the ground every once in a while and do a bridge pose. If you’re unfamiliar with bridge, you lie on your back and bend your knees. Your feet are not too close to your butt, but you want to feel them press into the floor and lift your hips up. Don’t lift too high because you want to maintain that length in your spine. Then get your glutes working and feel like you are this charge of energy that’s coming from the ground, up into the root chakra, this first place of power. 


    Some powerful affirmations that connect us to our root chakra are:

    • I feel rooted
    • I am connected to my body
    • I am safe
    • I’m grounded and stable
    • I trust myself
    • I trust in the goodness of life
    • l make choices that are healthy for me
    • I have all that I need
    • I stand for my values, for my truth and for justice for all


    Resources:

  • 129 | What’s my purpose?

    Today’s podcast is called, what’s my purpose? Everyone is searching for their purpose. But how do we find it? Is it only one thing? What happens to people who don’t think they have a purpose?


    I don’t think there’s just one answer, but from my position as a movement teacher and getting to work with people and observe their troubles and triumphs, the way someone moves has a lot to do with whether they have clarity around their purpose.


    For some people finding their purpose is a pretty clear path. Other people struggle finding the one thing they were born to do.


    I have always loved working with animals and for a long time I thought that might be my  purpose. Then I discovered that working directly with animals wasn’t actually what I wanted to do. I knew from a young age that I did not want to sit at a desk. I wanted to work with people and I wanted to work in health. So I followed that and my path became clear. As a yoga teacher, I get to combine my love for animals with my interest in helping people move better. Firstly because yoga teaches the principle of living without harming other beings, secondly because when people move better, they feel better about themselves. And then they often are more open-minded and more open-hearted to extend the compassion to other beings.


    If you need more clarity about your purpose, ask questions like:

    • What lights you up? 
    • What are you doing when you lose track of time because you’re so fully absorbed in the activity?
    • Who do you want to be in your life in a big way?
    • What is it that you love to do? 
    • When do you feel your best and your most clear?
    • What puts you in that that flow where you can work really hard but it doesn’t feel like arduous work?


    Start writing those down, start journaling about them. And don’t let anything else or anyone else get in the way of that. Don’t let other people tell you you need a back-up plan. Go full throttle. Because when you’re finding that purpose, and when you’re capitalizing on the thing that you really love doing and are good at, everything else will start to just organize itself around that. 

    Resources:

  • 128 | How To Stretch The Hamstrings

    128 | How To Stretch The Hamstrings

    Asking how to stretch your hamstrings is like asking, what’s the meaning of life? I say that because, although I get asked how to stretch the hamstrings all the time, there’s no simple answer. In this episode I want to expand your idea of what the hamstrings are and what stretching them actually means.


    What actually are the hamstrings and what do they do?

    The hamstrings are three muscles, They cross over two joints, the hip and the knee. And that means they influence both of the joints. The primary job of the hamstrings is to bend the knee. They also help with hip extension. 


    What is this obsession we have with stretching hamstrings about, and why is that not the whole story? 

    One reason is because people can feel tangible tightness in that area behind the legs. They can feel it when they lean over to the ground and pick something up. They can feel it when they’re running or doing yoga or other movement. The second reason is that when people experience lower back pain, they’ll go to a doctor and the doctor will say they need to stretch their hamstrings. 


    That might be the case. But I want you to start thinking about the hamstrings as a longer set of muscles that actually connect to a variety of muscles. So when we talk about stretching the hamstring, we actually have to think about that entire area. Because just to stretch that area behind the thighs would be a little reductionist. There’s so many other things tugging and pulling on it that we’re not going to accomplish what we want to accomplish by the traditional methods of stretching the hamstrings. 


    We need to see how the tightness of the entire back fascial line affects posture and therefore affects movement, like leaning over to get something off the floor, otherwise known as the standing forward fold like we do in yoga. If we are feeling that the tightness of the back is pushing the front forward, that would be first need to be addressed. We need to look at posture and get everything in alignment so we’re starting in a good position. Then, as you fold forward, what is happening? Where is the tightness most dramatic? I would say for a majority of people, it’s less than in the back of the legs, and it’s more in the lower back or maybe the mid back. And so the effort and endeavor to stretch the hamstrings isn’t really going to change much of the feeling of tightness. Where most people actually need to open up and get more space is in the low to mid back.


    How to test if the tightness is in your hamstrings or your back

    Come up to a wall and turn so your butt is facing the wall and your head is facing away from the wall. Walk away a bit so that you can bring your left foot on the floor. And then with the right foot, step up onto the wall in somewhat of a 90 degree angle. Your hands can be on a chair, they can be on blocks. If you’re more open in the back fascial line, they might be on the ground. But what is happening when you put one leg on the wall and one leg on the floor? What is happening to your back? Does it immediately respond by rounding? Or does it feel okay? For many people who claim they have tight hamstrings, it actually could be that they’re rounding in the spine. They’re tight in the spine, but they’ll feel it in the hamstrings. 


    How to stretch the whole area that affects your hamstrings
    Staying on the wall, make sure your hands are in a good position so your back can stay straight or lengthened. Your right foot is behind you on the wall, not very high, just straight back from your right glutes, at a 90 degree angle maximum from the left foot, and then really get that spine length. The spine stays long, it’s not crumpling and rounding. The left knee can be bent. It does not matter if that has to bend a little bit. But if you want to stretch your hamstrings well, keep your spine long and straight. Keep your chest open, don’t round the shoulders, keep the head lifted without getting the chin up. And see if you can hold this for a number of breaths. This is a great way to stretch your hamstrings. And you’re doing it in a way that will actually help your connective tissue expand and stretch. 


    If you don’t think you’d be able to do that, walk it back a little bit. Think more about bringing just the leg up a little bit off the ground, or you can even face the wall. Put your left foot back a little from the wall. The right foot is behind that but they’re not staggered, meaning they line up with your front frontal pelvic points, like two train tracks. Left foot in front, right foot behind and then the hands are on the wall. Start to bend the knees as much as you need to and then hinge at the hips.  


    Resources:

  • 127 | Life Training

    This podcast is about how movement practice can be seen as a preparation for life. Movement has to do with life and transitions. Life itself is one movement after the other. We move through stages. And even within the cycle of a day, we’re moving. Our movement patterns can offer us a unique opportunity to pay attention and improve the way we respond to and interact with situations in our life.


    From a young age, we move and we don’t think about it. Our movements are fun, joyful and functional, all the things that movement is supposed to be. But then we go to school, and unless you go to a school that specifically lets you move around the classroom and stand up and take lots of breaks and go outside with nature, our movement becomes limited. To be still for long periods of time and to sit at a desk in a way isn’t sustainable for our hips and our back. So we have to learn to tap back into our body’s intelligence system for our physical, mental and spiritual health.


    To use movement as a preparation for life, first learn to observe using all your senses. This will help you to avoid situations leading down a path of discomfort or misery, whether that’s in the form of movement or interactions with others. Observe your movement, as if looking down on yourself from above and think, how am I moving right now? How am I standing or sitting? How am I holding my energy? Am I leaking my energy? Am I cramming in my energy? Am I clenching my jaw? 


    Movement also helps us respond to situations better, to be adaptable and to take steps to correct problems. Examples of ways you can respond movement wise are by tightening your core or deepening your breath. By really paying attention, you will respond to the things that your body needs. And then you’re more likely to respond better to things that are in your life. So at work or at home, you can have that kind of cultivated pause that is needed for a more intelligent response. 


    A great exercise for movement practice as a preparation for life is a hip hinge. Start by standing tall. Feel your feet on the floor, tighten your core, tighten all the muscles that surround your pelvis, your spine, your ribs, all the way up to the scapula and the shoulders. Draw the skull back in space so that you’re truly aligned over your shoulders. 


    Then cultivate this sense of connection everywhere and see what that feels like. Tune into the difference when you hold yourself up purposely as opposed to just working with the things around you, like gravity and the floor. Can you hold yourself from your core? And get a sense of how different that feels rather than just collapsing. And then from here, slide your hands down your legs, bending your knees until your hands come to your lower legs. Keep that tightness, that firmness around your core, so you’re not rounding in your spine, sticking out your ribs or jutting your chin. Then slide your hands back up. And do that a few times.


    When you’ve done that a few times, slide your hands down and hold them on the shins, then draw the belly in and hover the hands away from the body. But keep your position, almost like you’re a downhill skier. And then observe where the energy is being moved  or held. Perhaps it feels like it is being crunched or compressed. Imagine that area getting more expansive. 


    Think about that feeling of pausing, observing, shifting and expanding when you feel something that’s uncomfortable. Don’t ignore it. Don’t react by getting angry about it. But give it the attention and space that you need to respond in the best way possible.


    Resources:

  • 126 | How To Lighten Up

    126 | How To Lighten Up

    Today’s podcast is about lightening up. We can tend to get stuck in the things that bog us down. So how can we lighten up emotionally, mentally, physically and in response to situations? By connecting to and strengthening our core center, our physical and spiritual self, we can get that feeling of lightness and that belief that we can handle anything, even when things don’t go our way.


    I start all of my classes with that engagement of the core, finding and maintaining a neutral pelvis, integrating all of the muscles that surround your skeleton and getting them firing so that you can feel lightness in your movement. If you’re not moving well and your joints aren’t supported, you won’t feel light.


    One way to discharge heavy emotions is to scream out loud. Don’t scream at anyone, go into the woods or something! When you grind your teeth or grip your jaw, it’s because you’re holding onto negative emotions. Letting vibration and noise out will help you release them. After you scream, breathe and see if you notice the difference.


    Another way of discharging negative emotions is by jumping. You can do little jumps, shake out your hands, shake out your feet and jump up and down on your toes. 


    Playing is also a great way of lightening up. Take an invitation to go and do something really fun and playful. Jump around, skip, hop, crawl, put on music and dance. You can play with kids or with adults.


    Mahatma Gandhi said, be the change you want to see. You will feel lighter when you are acting in alignment with your core values and doing the things that resonate with that. So be the change you want to see. Be friendly. No matter what. Be compassionate and loving. Be light.


    Henry Ford said, whether you think you can or you think you can’t, you are right. The power of your thoughts are that great. So if you want to be lighter, know that you can be.


    Resources: