Category: Podcasts

  • 157 | Serratus anterior – my favorite muscle

    157 | Serratus anterior – my favorite muscle

    The serratus anterior is such an important muscle that many people don’t know about, and one of my favorites. An undeveloped or weak serratus can cause shoulder pain, rounded shoulders and even breathing problems. 


    Where is the serratus anterior?

    It originates on the top surface of the first to ninth rib. The first rib is up by your collarbone and the 9th rib is the one above the last rib to attach to your sternum (the bottom two ribs don’t).


    What does the serratus anterior do?

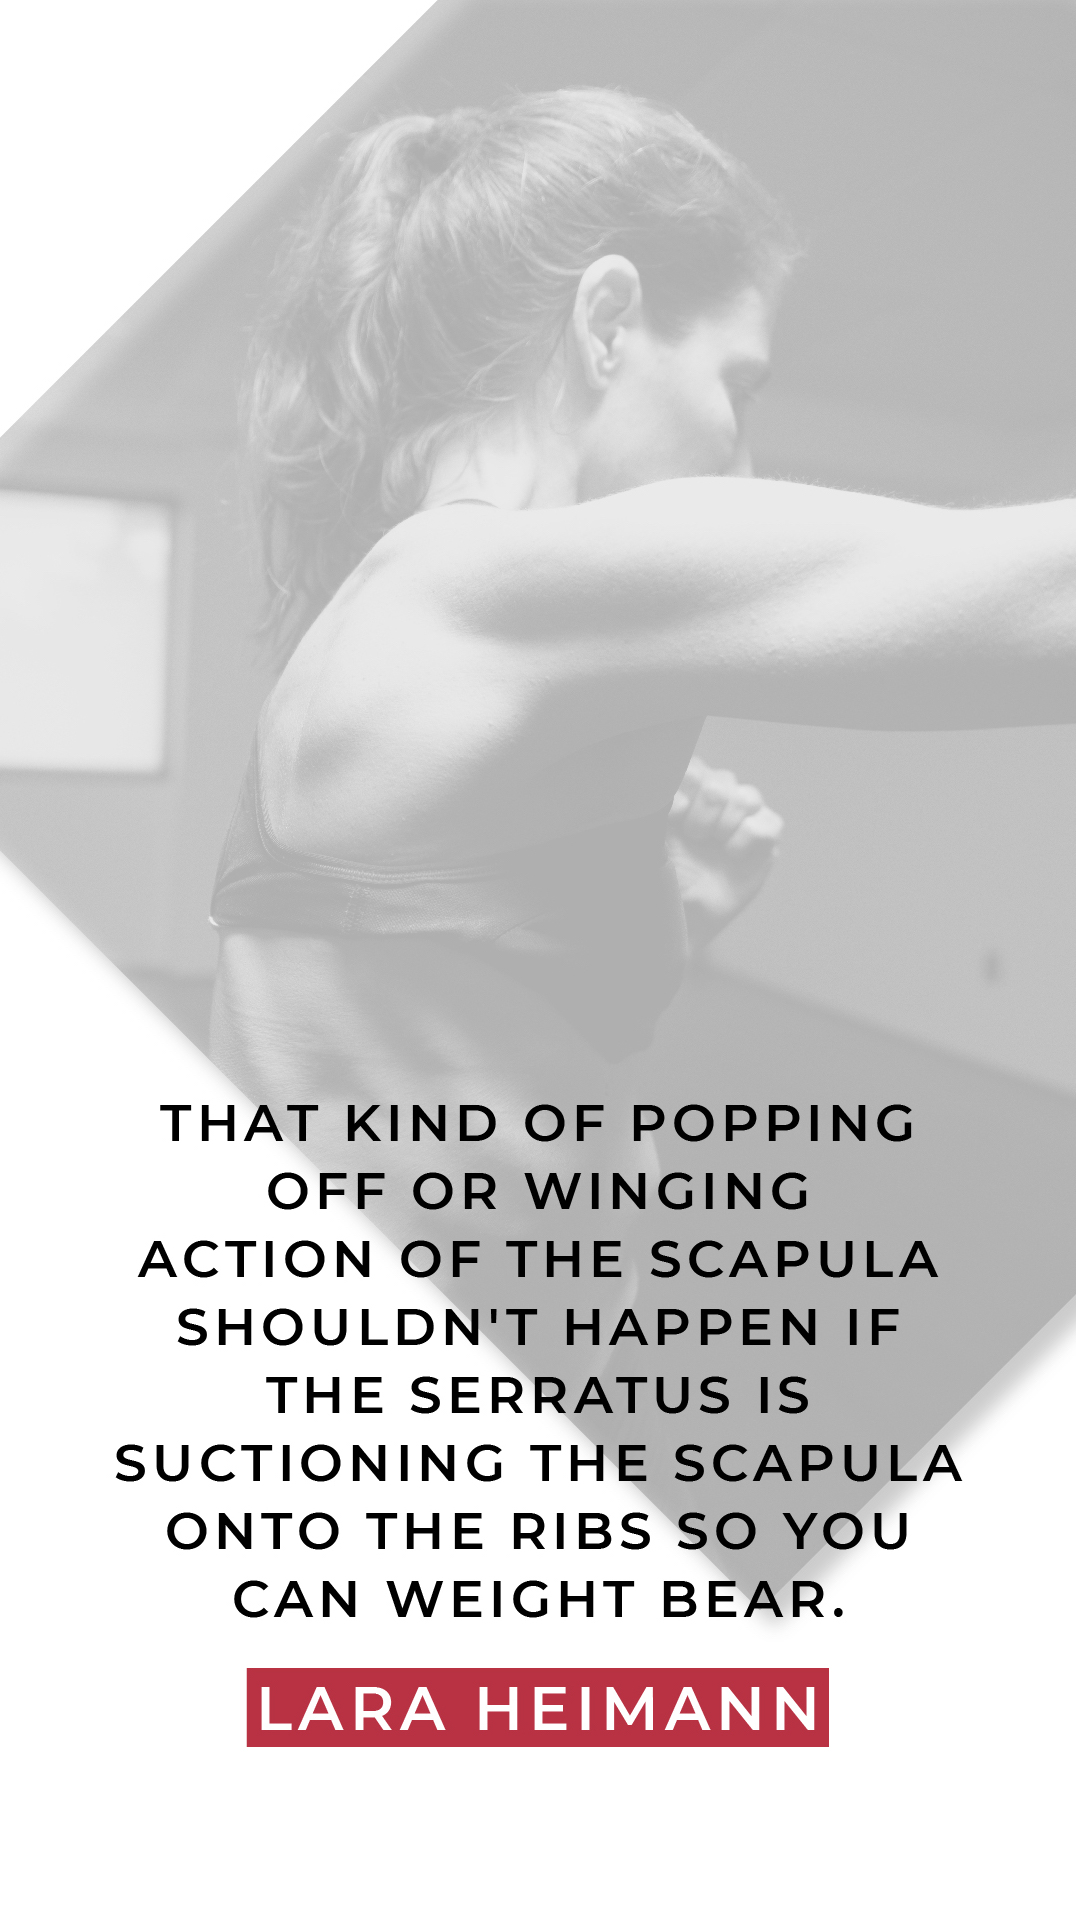
    It’s sometimes known as the boxer muscle because it allows the scapula to pull away from the spine when the arm reaches out like you’re punching somebody. The serratus is also partially responsible for the upward rotation of the shoulder when we lift our arms up overhead, like in yoga. But the other thing it’s really important for is when you’re weight bearing on your hands because it helps to hold the scapula on or close to the rib cage.


    What happens when the serratus anterior is not functioning well?

    It can cause pain between or under the shoulder blades or under the armpit. You can even get pain with your breathing. Athletes who perform repetitive motions, pitchers for example, might experience problems because their serratus is not developed enough to control that mechanism.


    How can you strengthen the serratus anterior?

    Exercise 1

    If you have rounded shoulders, poor posture, not great breathing or pain around the scapula, first get yourself in a neutral scapula position as best as possible. So you want to find your Triple S, which I’ve talked about in many other episodes. This is where you go against the wall and position the back of the skull, the back of the scapula and the back of the sacrum on the wall. Then reach your arm forward straight out in front of you, make a fist, and practice protracting the scapula, feeling it glide out as you punch your arm forward. 


    Exercise 2

    You can also do the reverse and stand facing the wall. Put your knuckles on the wall, and then push the wall away and let the scapula protract but you’re working isometrically, meaning you’re going to allow it to protract a little bit, but you’re not going to be able to move much more and you just want to hold it there using the resistance of the wall. 


    Exercise 3

    Come on to all fours on the floor and find a neutral position by keeping the arms straight and letting the chest soften like you’re trying to drop the chest down toward the floor. Feel the shoulder blades squeeze in toward each other and then just lift the front ribs up a little until you feel the shoulder blades on the back ribs. The next stage is to hold the shoulder blades exactly as they are and step one foot back at a time, so that you’re in plank pose. Keep that sensation and visualize holding that shoulder blades on the rib cage. That’s the part of the serratus that you need to work on. Video yourself doing this so you can check that you’re using the serratus and not your chest muscles.


    Exercise 4

    Stand facing the wall and bring your arm way up overhead and bring the pinky finger to touch the wall. So you’re not at 180 degrees in line with your ear, but it’s like probably 150 degrees with the arm up above 90 degrees and the hand on the wall. And then from that position, slide your scapula up to lift the arm up more. Slide it up to like 170 degrees and then just isometrically, meaning you’re not going to change anything, push the pinky finger into the wall and activate that area around the scapula and rib cage because that’s the rotated position that’s working the serratus. 


    I hope these exercises help you strengthen your serratus. As always, I’m pulling for you.


    Resources:

  • 156 | 50 life lessons by 50

    156 | 50 life lessons by 50

    Yesterday I turned 50. I’ve never paid too much attention to numbers and birthdays, but a half-century is a pretty big deal. We all have something to offer for our years on earth so I thought it’d be interesting to tell you my 50 favorite life lessons. Some of these are things I wished I’d learned way earlier in life so you might be able to avoid some of my mistakes!

    On my list are health and movement (of course!) tips, but I’m also including things like write handwritten letters, love people who are difficult to love because they are the ones that need it most, and know that love is boundless.

    I would love so much for you to share this episode with some friends and maybe come up with your own list of life lessons. Share what’s in your heart and send them to me at lara@movementbylara.com. I’m sending you lots of hugs, and I’m pulling for you each and every day.


    Resources:

  • 155 | Scariest yoga poses I see taught

    155 | Scariest yoga poses I see taught

    As it’s almost Halloween, today I’m talking about the scariest yoga poses that I see being taught. Scary poses are ones which carry a lot of potential risks, especially when they’re taught in a class consisting of people with different experiences, histories, body shapes, sizes and conditions – pretty much any class! I’m particularly talking about poses which put a lot of stress on joints and poses which are risky to get in and out of. 

    So here’s my list of potentially harmful poses in order of least to most hazardous.


    Bridge pose with clasped hands underneath

    This pose is not super scary, but I’m not a fan of it. Your feet are on the floor and you’re lying on your back. You lift your hips up, walk your shoulders in underneath, clasp your hands, and then a lot of instructors will tell you to really press the elbows straight. The reason I don’t like to see this pose being taught is that very few people can do this in a balanced way. What happens is that most people overextend their shoulders because they just don’t have the thoracic extension. This creates tension in your shoulders, lower back and neck. So I really prefer bridge pose with the hands by the sides or somewhere else.


    Reverse plank

    Again, not a super scary pose, but there are just so many better ways of accomplishing more extension in the spine, hips and knees. Reverse plank is a version of reverse table but with the knees straight and the head thrown back. You have your feet on the floor, hands facing in the same direction as your feet, and then you lift your hips up, put your legs out straight if they aren’t already, and drop the head back. The shoulders and the knees are put in a kind of wonky position. 


    Fish pose with the top of the skull on the floor and the legs straight up

    In fish pose you lie on your back then prop yourself up on your elbows, thrusting your chest up. If you just have your head dangling, that’s not actually too bad. But when you put the top of your skull on the floor, and then lift the legs straight up, I don’t like that at all. Your cervical spine is hyperextended and there’s weight placed on it. And then you place even more of a load on your cervical spine by lifting the legs straight. Some people then put the palms of their hands together, and that makes me really hold my breath. It’s dangerous to get in and out of because your neck is hyperextended and you’re putting weight through the skull. 


    Kurmasana

    Kurmasana is where you are sitting down on your butt with your legs wide in a straddle position and then you slide your arms under your upper thighs and try to lower your chest to the ground. So it’s a huge hamstring and adductor stretch. And then what are you doing with the shoulders? Holy moly. You’re loading the shoulders with your legs, and can anybody get out of that pose? I’ve literally heard someone’s hamstring pop in that position. 


    Headstand

    I don’t teach headstands at all. I want to keep my cervical vertebrae in alignment as much as possible. I do not want to load my head. Right underneath the skull is an artery where this massive huge blood supply to the brain comes in, so I don’t want to put putting weight anywhere near that in case of injury. 


    Kapotasana

    Kapotasana starts off like camel pose (I’m not against camel pose, by the way. I like to get into it very carefully so that the curves of the spine are balanced. It’s a bigger backbend so it needs a lot of prep work.) For kapotasana you’re on your knees, leaning back for camel, but then you continue to bring your head down between your feet and your hands to your feet. So you’re in this massive backband. There are some people who can get there. And those are the people who shouldn’t be getting there because most likely they’re getting there from their hyper flexibility. And getting out of that is really challenging. It’s almost like you’re a rubber band that’s been popped. I get scared anytime I see somebody working on this because there is a risk of things not going mechanically well.


    So for all these scary poses, you might have a short-term ability to get into the pose, but long-term you can create biomechanical stress and I want you to preserve your ability to practice for as long as possible. If you wanted to work on any of these individually one on one, I wouldn’t be so worried (except for headstand and fish pose with the weight bearing on your head – I would never recommend anything with weight bearing on your head.) But if you’re teaching or learning yoga in a class setting, you cannot account for all the different bodies and injuries in the class, so I don’t recommend any of those poses. 


    Lastly, Happy Halloween! It’s a really special day for me. Check in with me tomorrow, and you’ll see why.


    Resources:

  • 154 | Shedding layers of yourself

    154 | Shedding layers of yourself

    We are a month into autumn in the Northern Hemisphere. Here in the northeast of the U.S., the leaves are changing colors and falling. It’s a time of beauty, transition and renewal. The bareness of the trees is this kind of clearing for the next phase of seasons or change. This can be metaphorical for the shedding of our layers, getting rid of feelings or ways of being that do not serve us and getting back to our essence – a state of being where our mind, body and heart are whole.


    I’ve come up with an acronym to help us do that – SHED.


    S stands for shift, sleep and stillness.

    What do you need to shift to shed things that don’t serve you? How can you prepare? Embrace the small shifts that are a step in the right direction. Even just shifting your perspective can be so valuable.

    Sleep is so important. It’s where we heal and where our immune system has a chance to be recharged.  

    Stillness is also important. Take time to be quiet, to be away from technology and be by yourself. As much as I talk about movement, ultimately we move so that we can find the power of stillness.


    H stands for hugs. Human touch is so healing, even hugging trees is healing. Find your person to hug regularly. 


    E is for exercise. Exercise regularly, every day if you can, because it burns stress hormones and literally helps us shed.


    D stands for deepen connections. Research continues to prove that having people who nurture us is good for our health. It can change us all the way down to our DNA. Great relationships are good for shedding pain and ensuring that we don’t stay trapped in limiting perspectives.  

    Our job is to continually shed things which don’t serve us, even if they may have worked for us in the past. Hugs from me to you. Let’s work on this together. 


    Resources:

  • 153 | Top office ergonomic tips

    153 | Top office ergonomic tips

    Ergonomics is the study of designing the working environment in a way that makes people safe and more productive. Six to eight hours is a lot of time to be sitting in a position where the instrumentation is not really skillfully placed in accordance with how our biomechanics work. Use the following tips to avoid carpal tunnel and other workplace hazards.


    • Find an adjustable chair that’s going to position you well. Have the cushion of the seat positioned so that it’s not tipping you back at all. You want your weight bearing through your sit bones and no rounding in the back. Your feet should be flat on the floor, not dangling into space. The more you can get to 90 degrees with the knee and the hip, the better. 
    • Move your feet around in a variety of ways to help with circulation.
    • Arrange your work surface so that the height of your desk is not going to put a strain on your back. You don’t want to feel like the desk is far away from you or far below you. You want to feel like you can rest the elbows easily by your sides and type. 
    • If have a standing desk, adjust it so your elbows are bent at 90 degrees and your hands are a little lower than that.
    • Have your eyes so that they’re at the height of your screen. This is tricky when your computer screen is connected to your typing keyboard so a wireless keyboard is a great investment.
    • Get up and move frequently because sitting or standing at a desk in one position for a long period of time will put a strain on your body. Roll the shoulders and go and visit a workmate to check they’re remembering to move around too.


    Lastly, I would love to hear what you’ve done that has really changed your ergonomics at work. Email me at lara@movementbylara.com.


    Resources:

  • 152 | Spread your wings | with Lesley Murphy

    152 | Spread your wings | with Lesley Murphy

    Lesley Murphy is a travel journalist and former Bachelor contestant. She hosts adventure retreats in places like Patagonia and Bali for people who crave community, movement, purpose, exploration and change for the greater good. After traveling for a long time, Lesley recently bought a house in Los Angeles. In this conversation we talk about the wonders of the world, finding your roots, furniture shopping with your other half and why her Australian boyfriend keeps a surfboard in their kitchen.


    We also cover:

    • Lesley’s recent trip to Saudi Arabia
    • Creating intimate space during retreats
    • Lesley’s work with breast cancer awareness
    • My recent posture challenge
    • Living with grief


    Resources:

  • 151 | Should we be looking back or forward?

    151 | Should we be looking back or forward?

    Today’s podcast is called, should we be looking back or forward? Sometimes I talk to people and, whether they’re talking about movement or pain or stress, there’s a lot of energy that is being held in the past. And it’s almost like they’ve been tethered to situations in the past and are really dragged down by them.


    We have to uncover what it is that we’re looking back at and how it might be weighing us down. Even happy memories might weigh us down because we might be stuck comparing our present lives to the “glory days”. 


    We need to accept all the stages in our life and be able to look forward to meet our goals and visions for our life. People who are successful at overcoming adversity don’t deny pain and trauma in their past or idealize past success, but use those moments as opportunities for growth. 


    Look forward to what else you can do for yourself and for others. And look back on the lessons you’ve learnt. But stay connected and grounded in the present because that’s what we have control over. 


    Movement is a powerful tool for staying in the present because, although our minds often stray into the past and the future, our bodies remain in the now. So if you find yourself stuck in the past or the future, bring yourself into your body and move. 


    Resources:

  • 150 | Enchanted Connections are everywhere | with MJ Grant

    150 | Enchanted Connections are everywhere | with MJ Grant

    Today my guest is a wonderful human being, MJ Grant. She is best known for her viral video ‘Dementia Can Be Beautiful’. In the video MJ’s mother, Carmen, realizes that she’s speaking to her daughter. MJ says she would never want to embarrass or belittle her mother by telling her she’s forgotten what her daughter looks like, and lets her make the connection herself. 


    MJ’s parents were both Deaf (her father recently passed) and MJ grew up seeing them treated differently to other people. Neighbors once called the police because MJ’s sister was crying. The police attended, only to find that MJ’s sister was crying because she wasn’t allowed to sleep in her parents’ bed. From an early age MJ knew she wanted to be a sign language interpreter. When she asked her dad where this idea came from, he said that the first interpreter she saw was when social workers came to assess if MJ’s mom and dad were fit parents. 


    MJ is a proud CODA (Child of Deaf Adults). She loves connecting people, which fits really well with being an interpreter. And she loves that her videos have connected millions of people to her mother, who worked in a factory even though she has a college degree. 


    Resources: